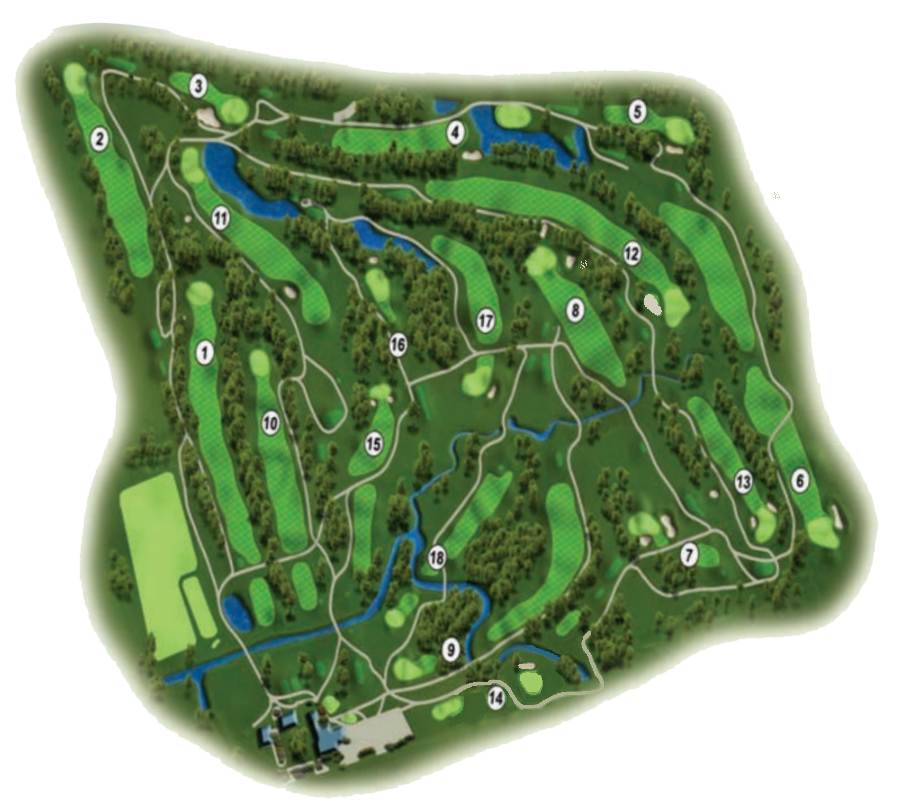
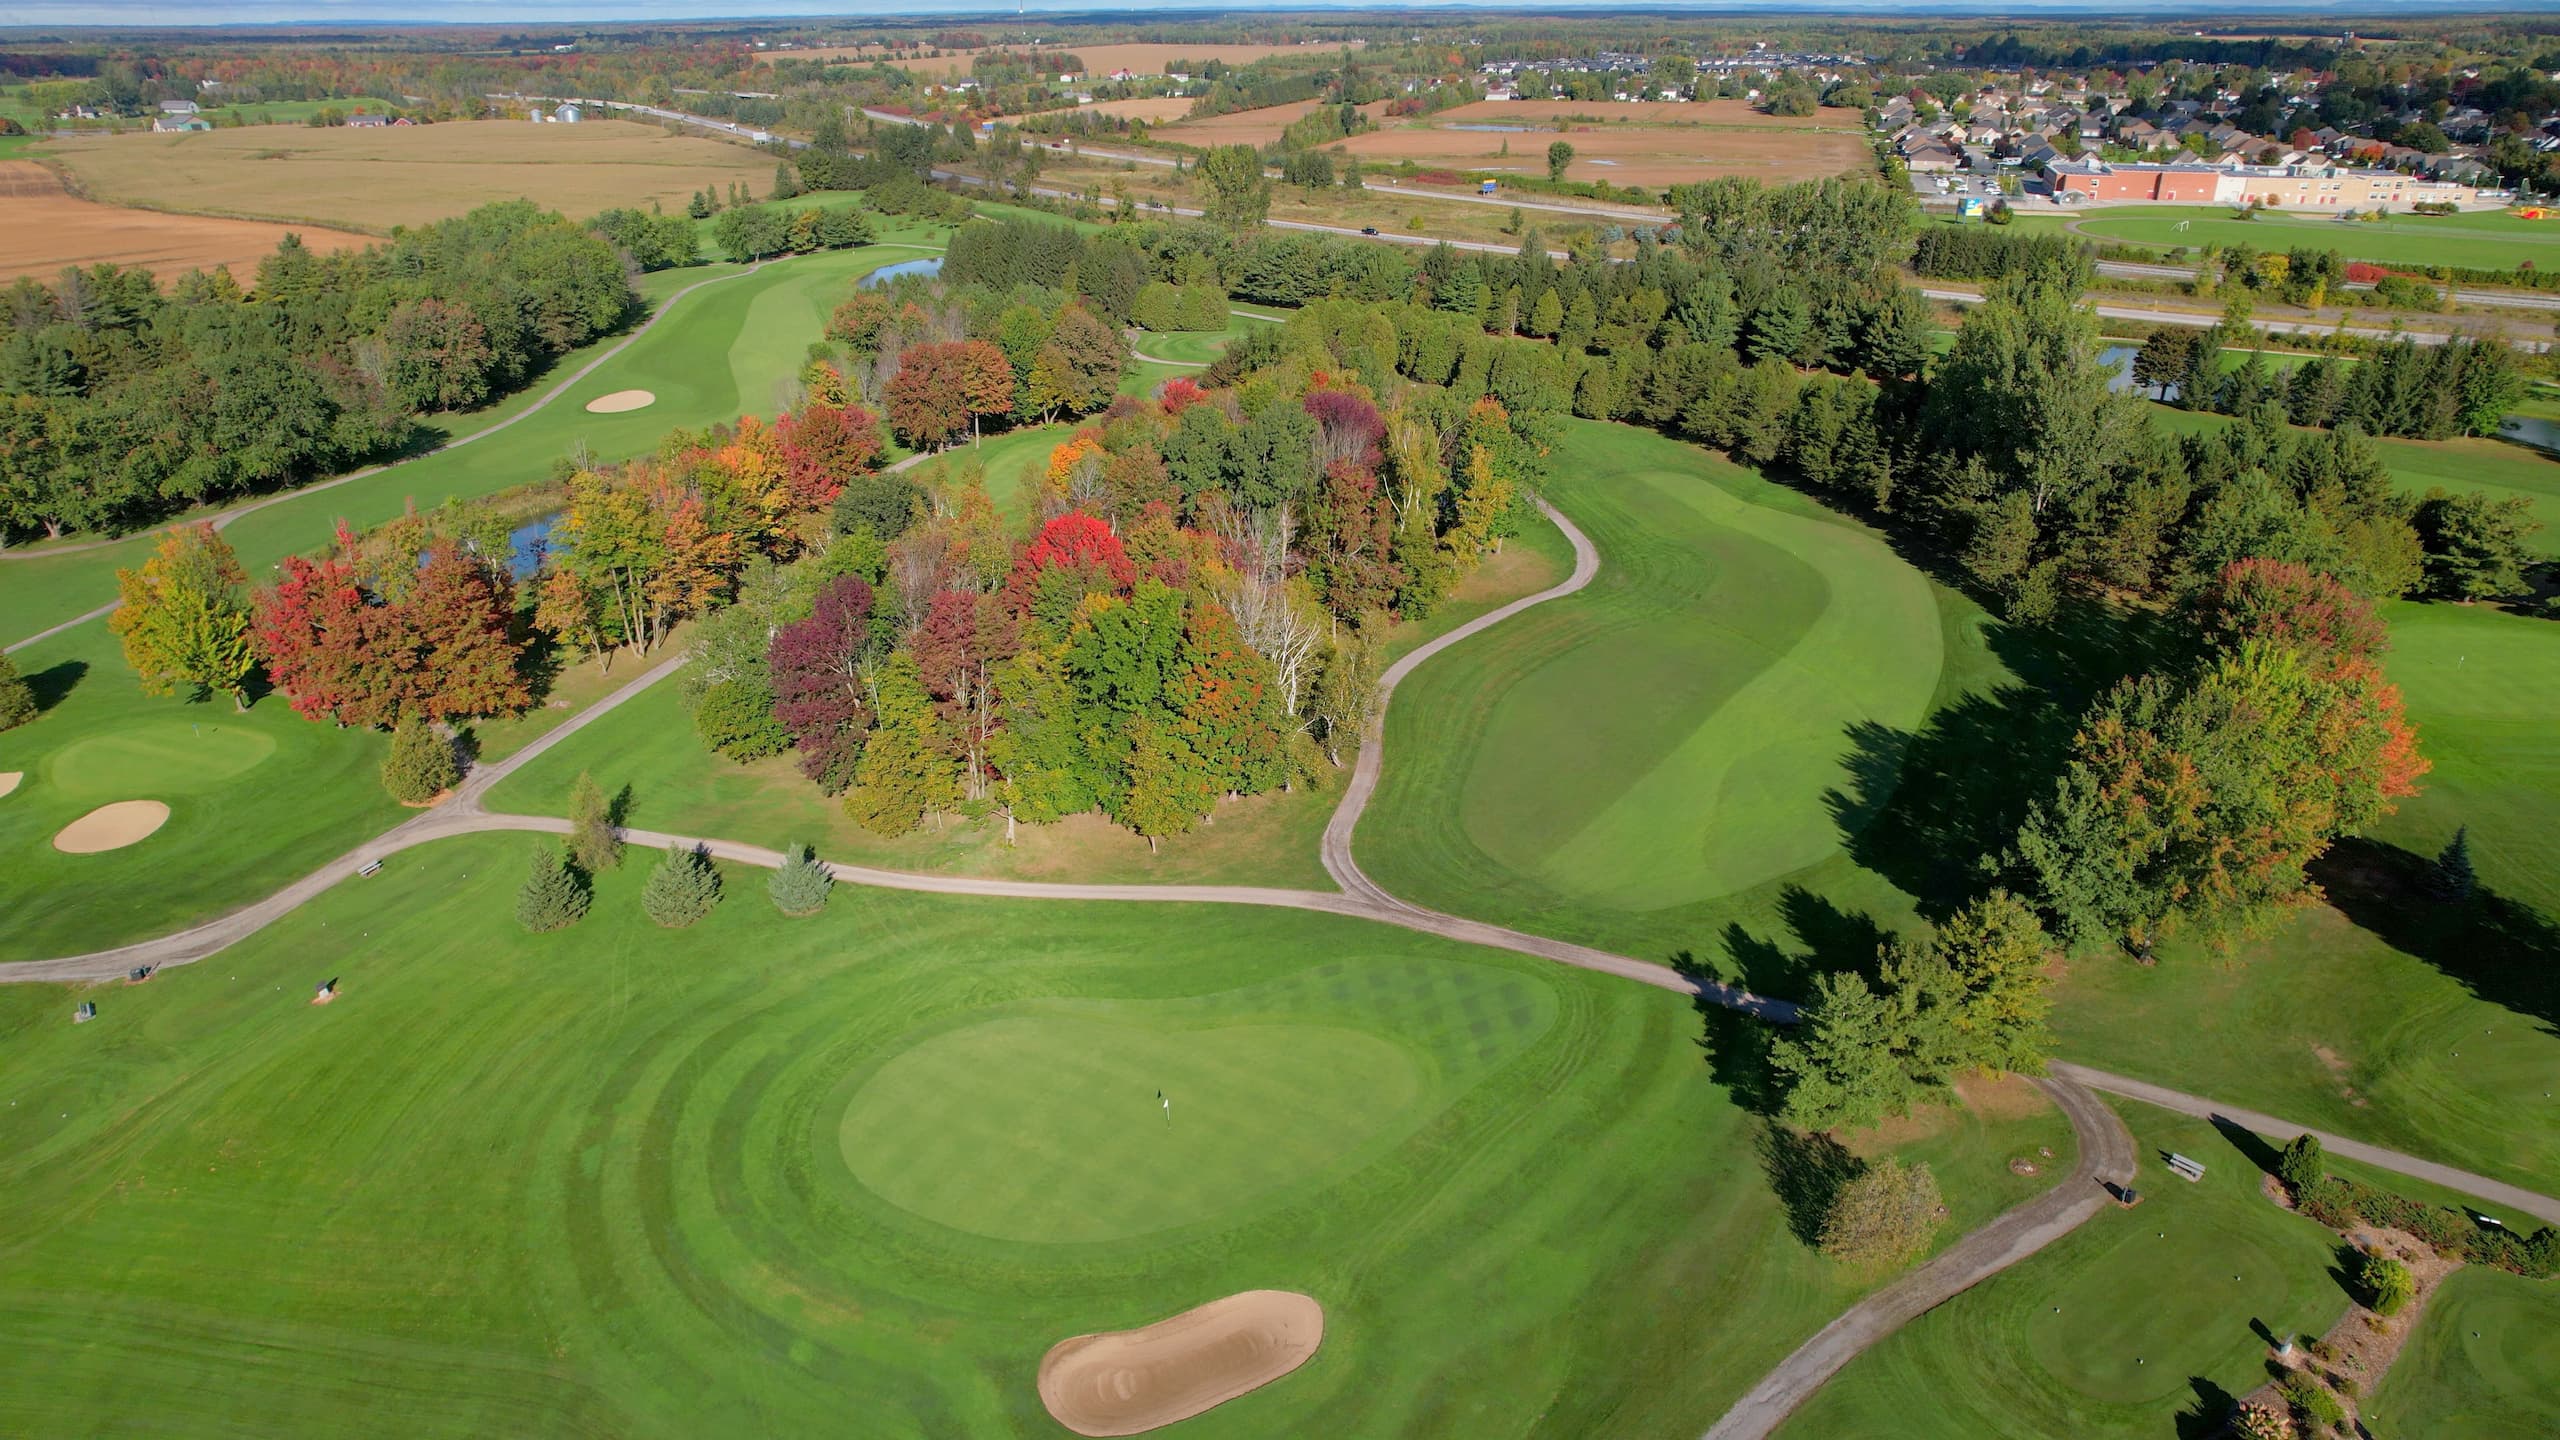
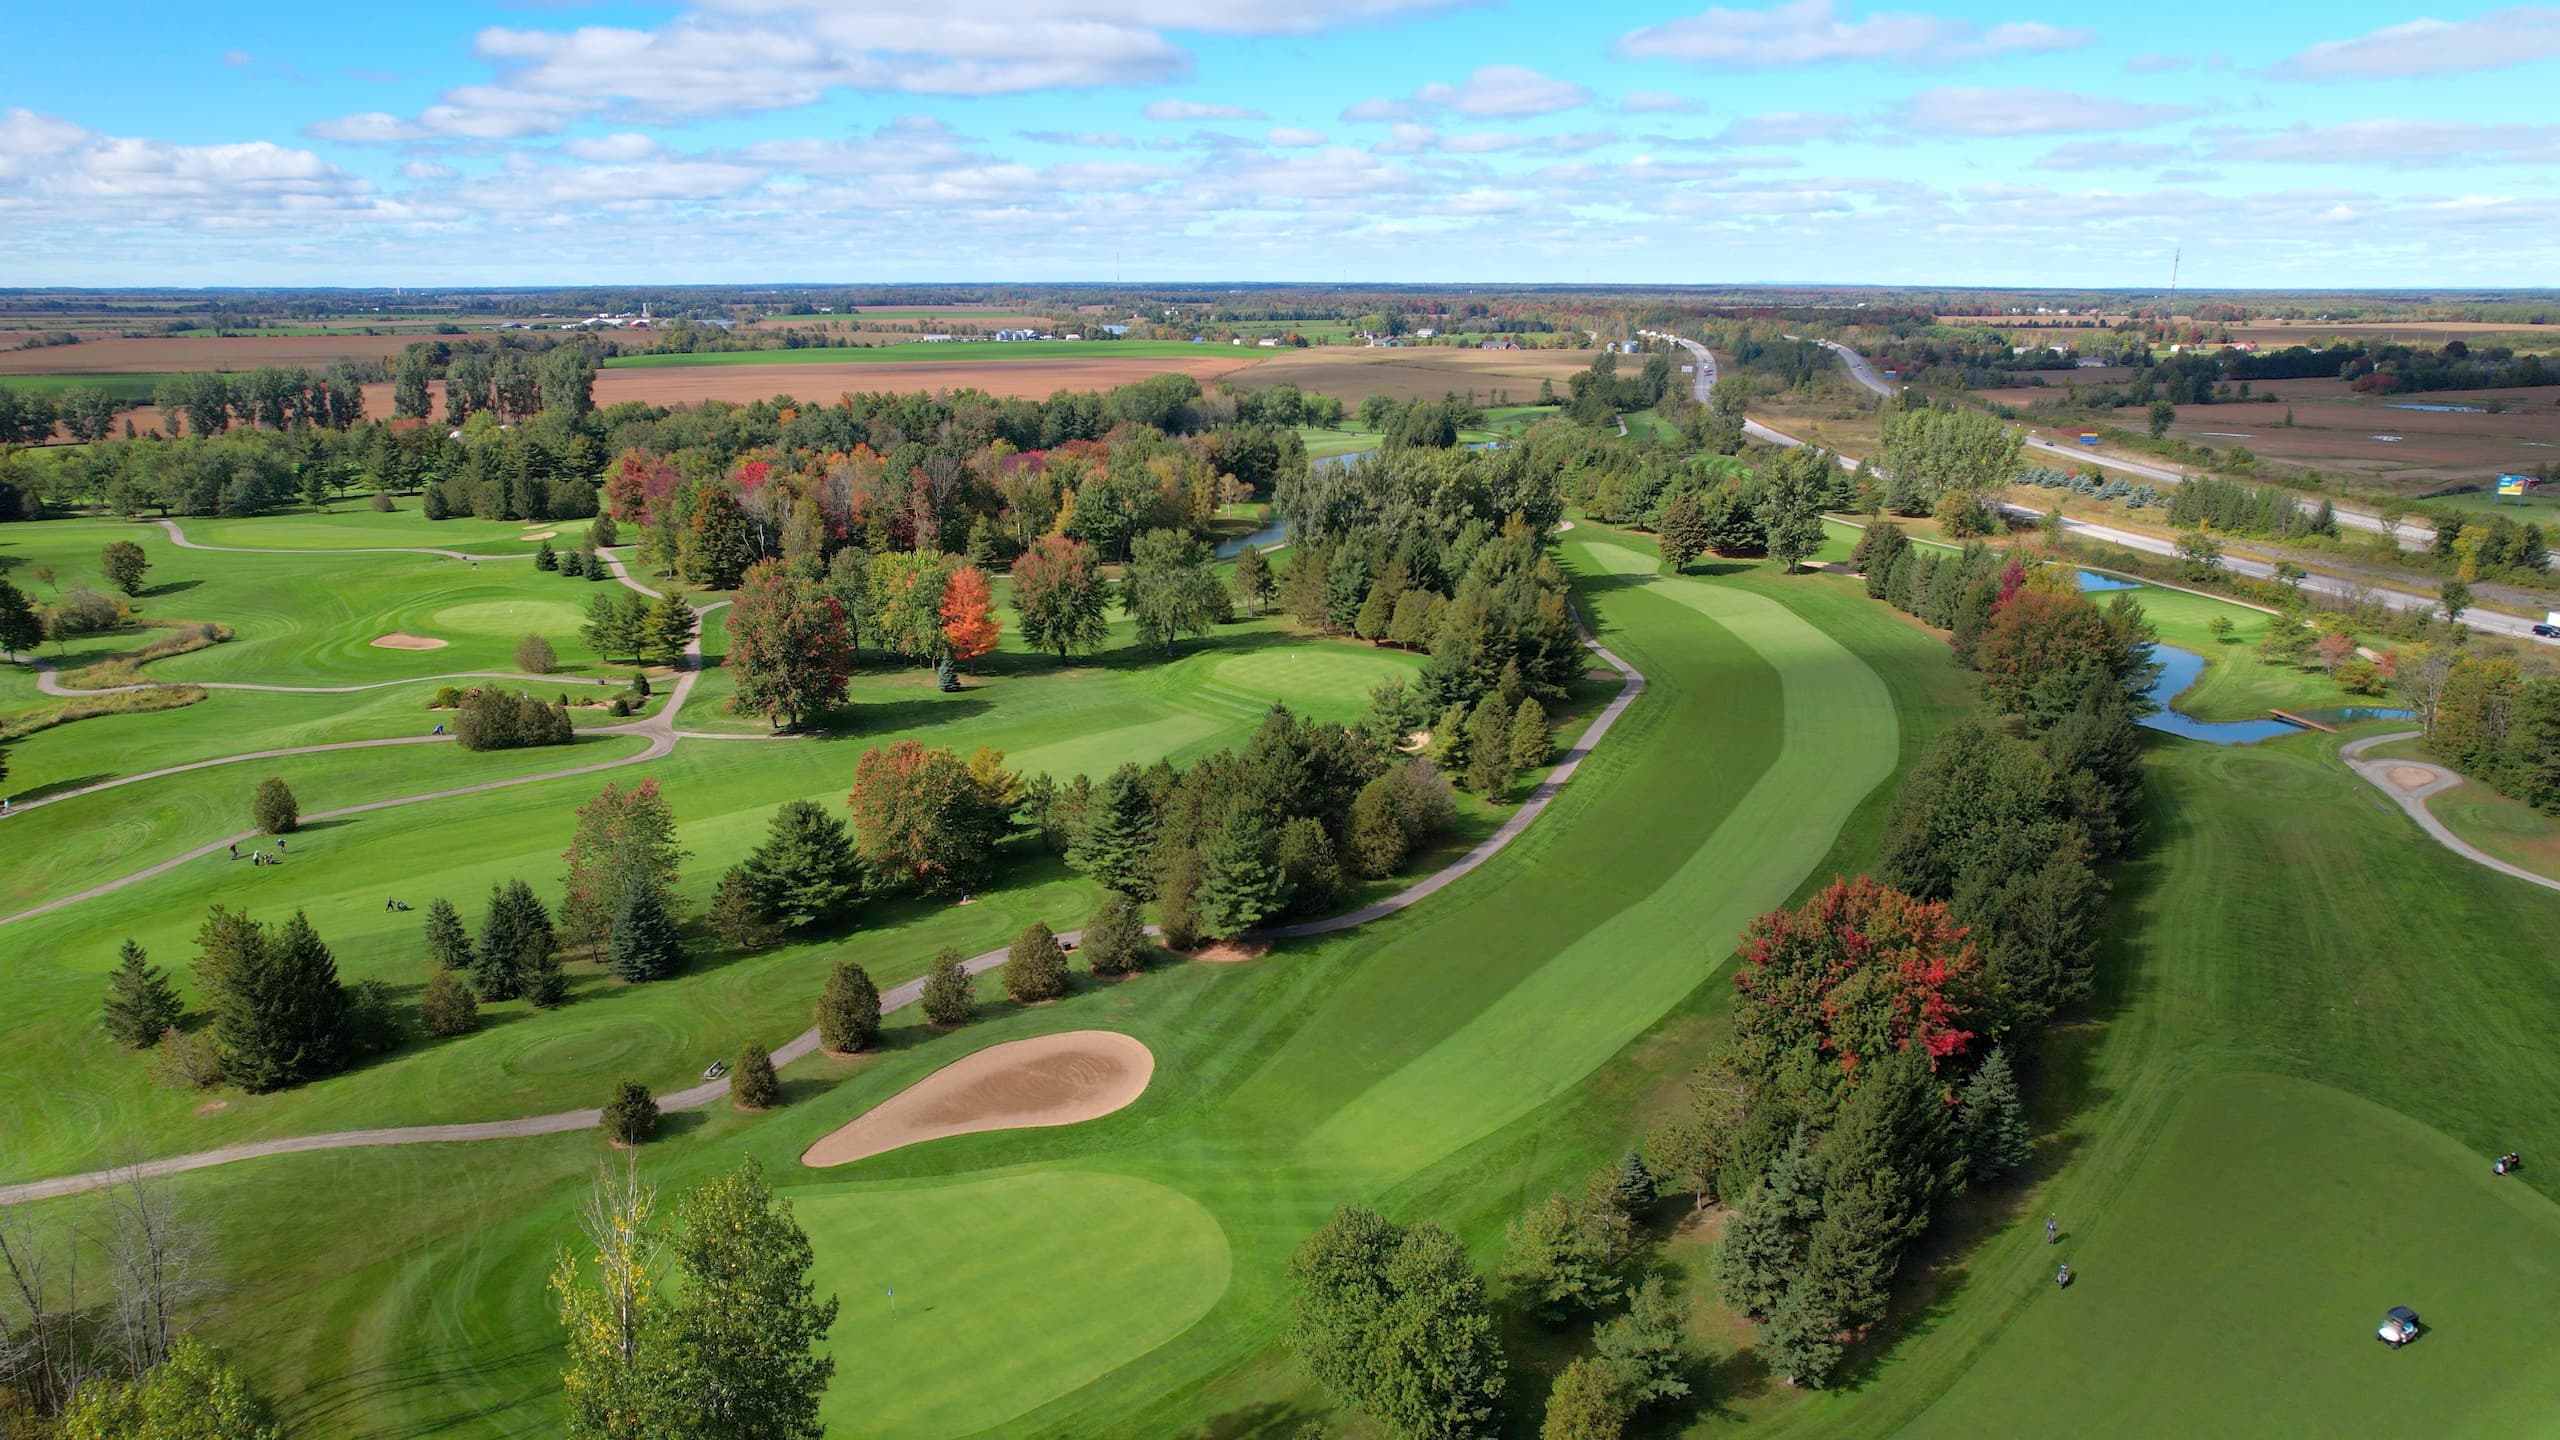
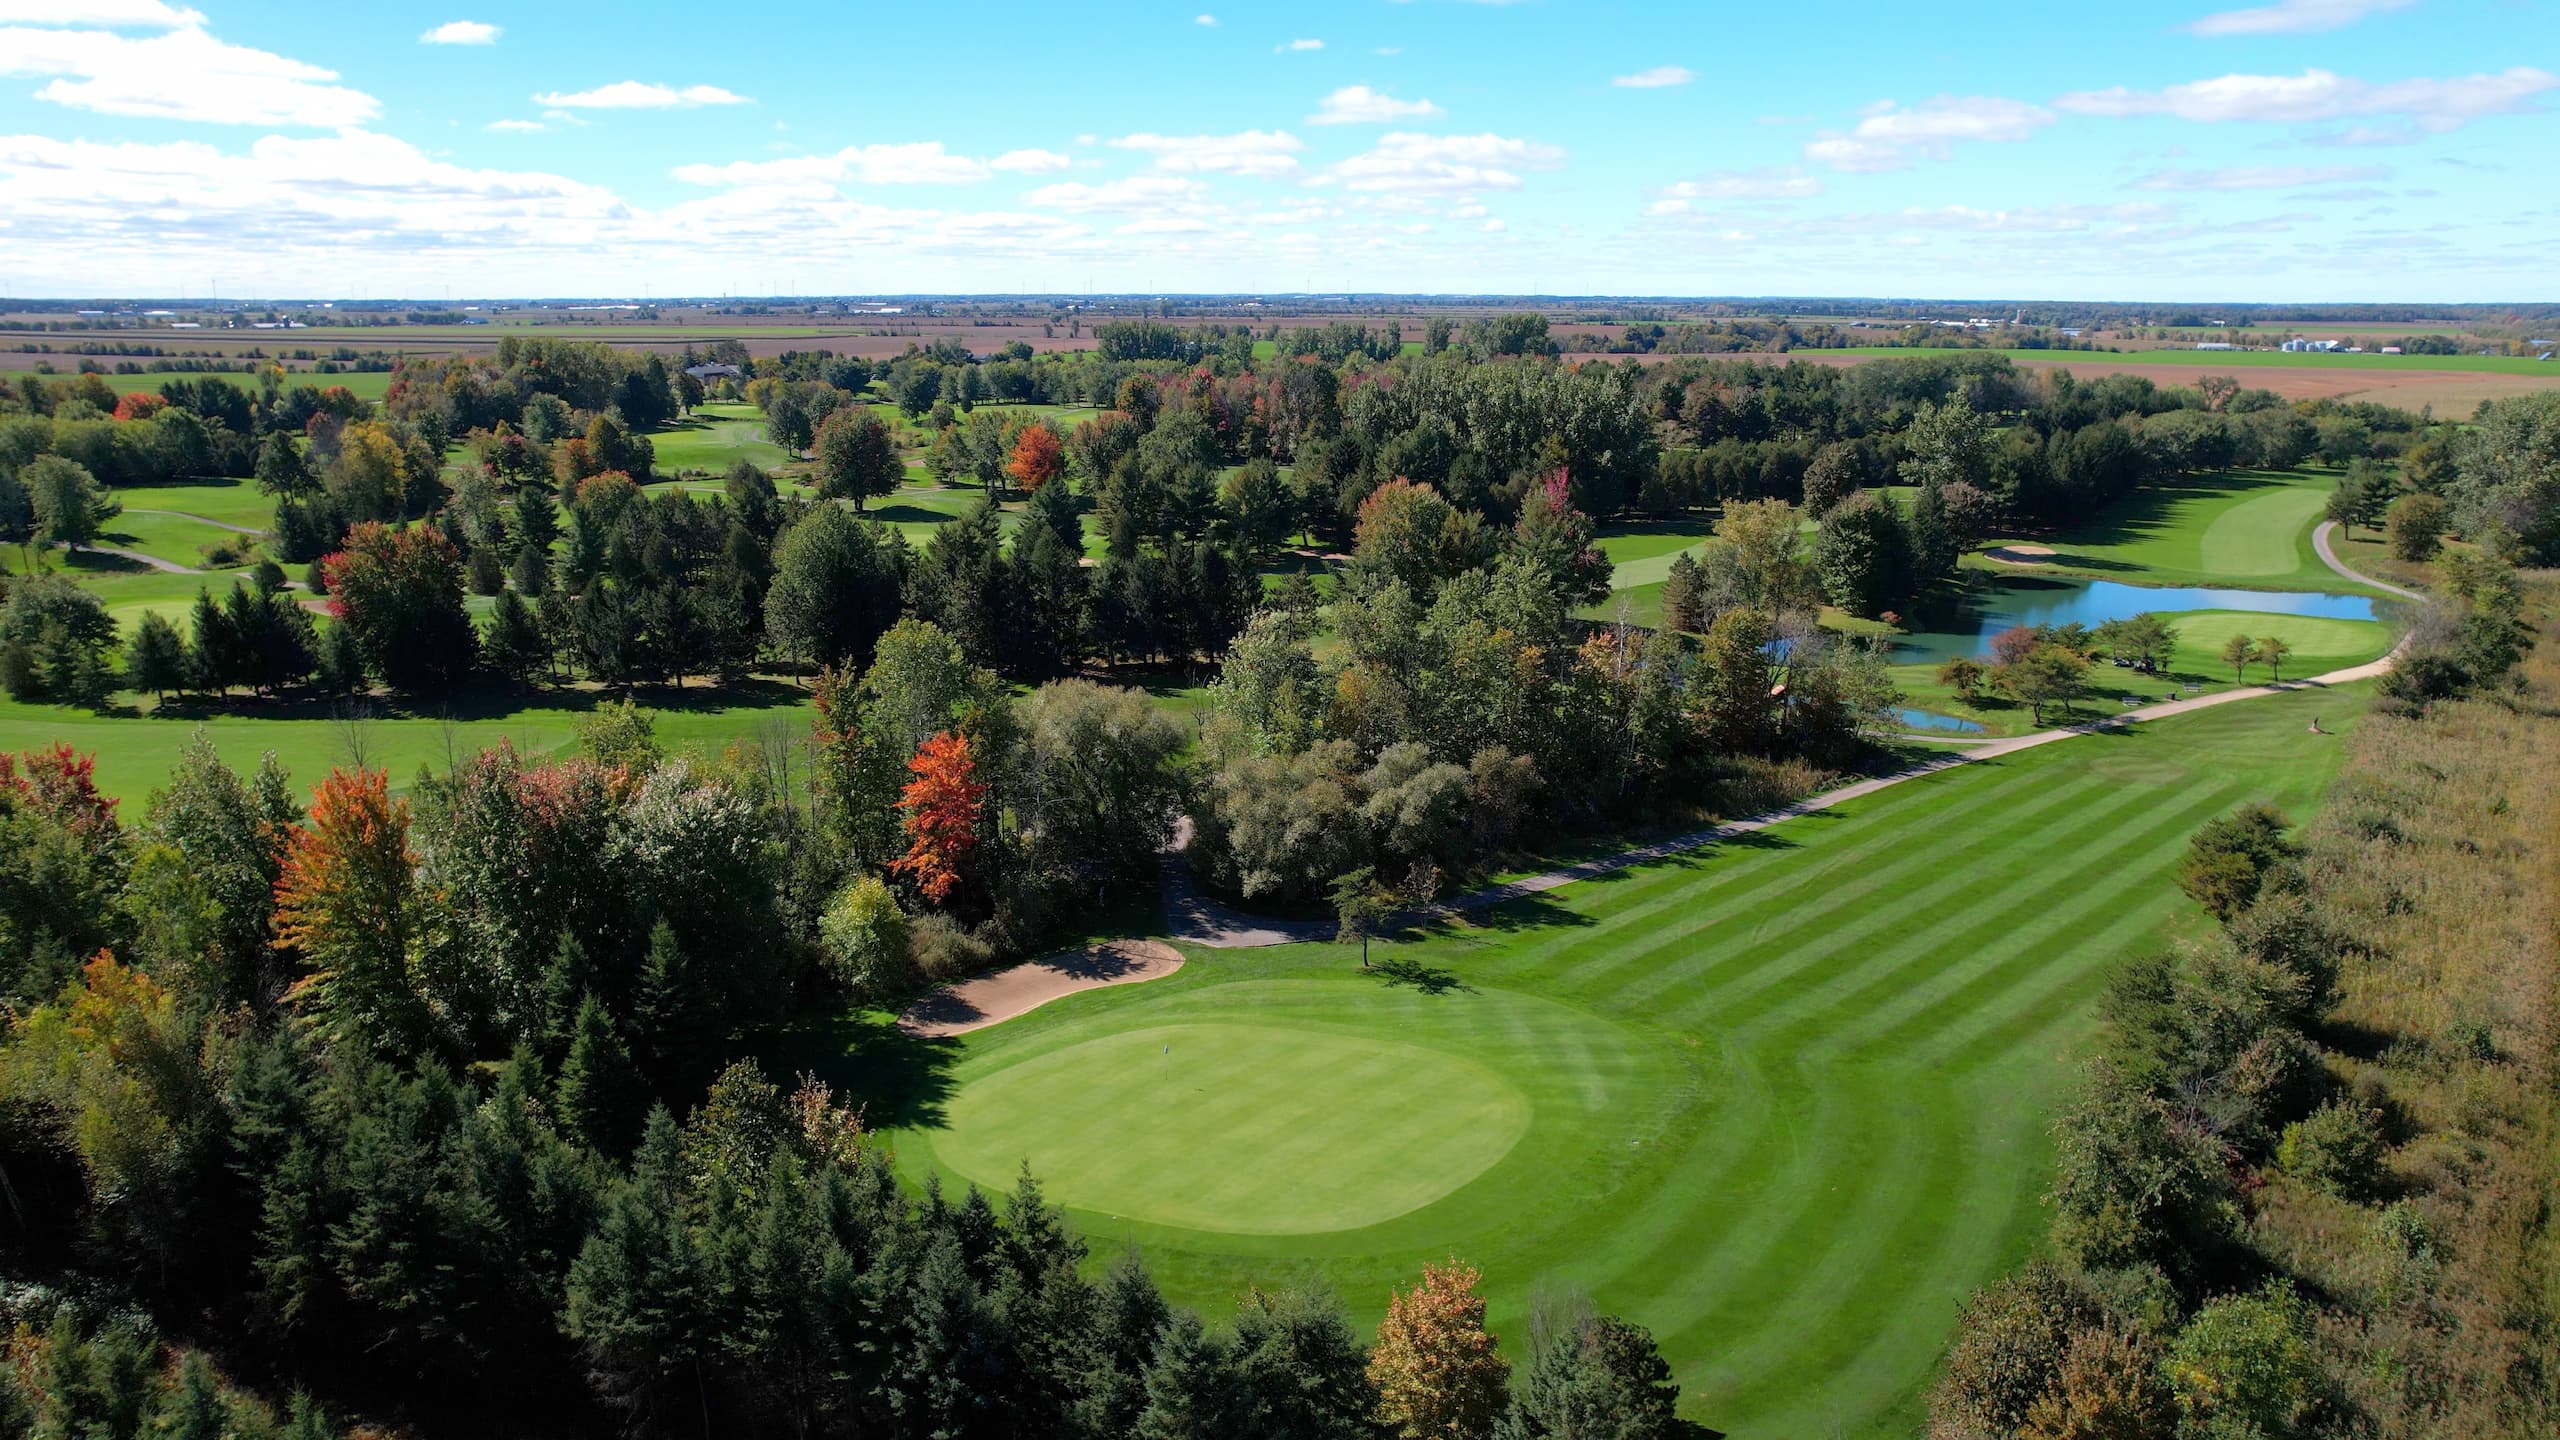
Casselview is a 6,705 yard, 18-hole, par-72 course. Every hole is a unique experience and fair test for golfers of all calibers. The large, impeccable greens provide a good mixture of undulating, well-treed fairways. Click the buttons on the map below for a hole by hole view or scroll down to see photos of the golf course.
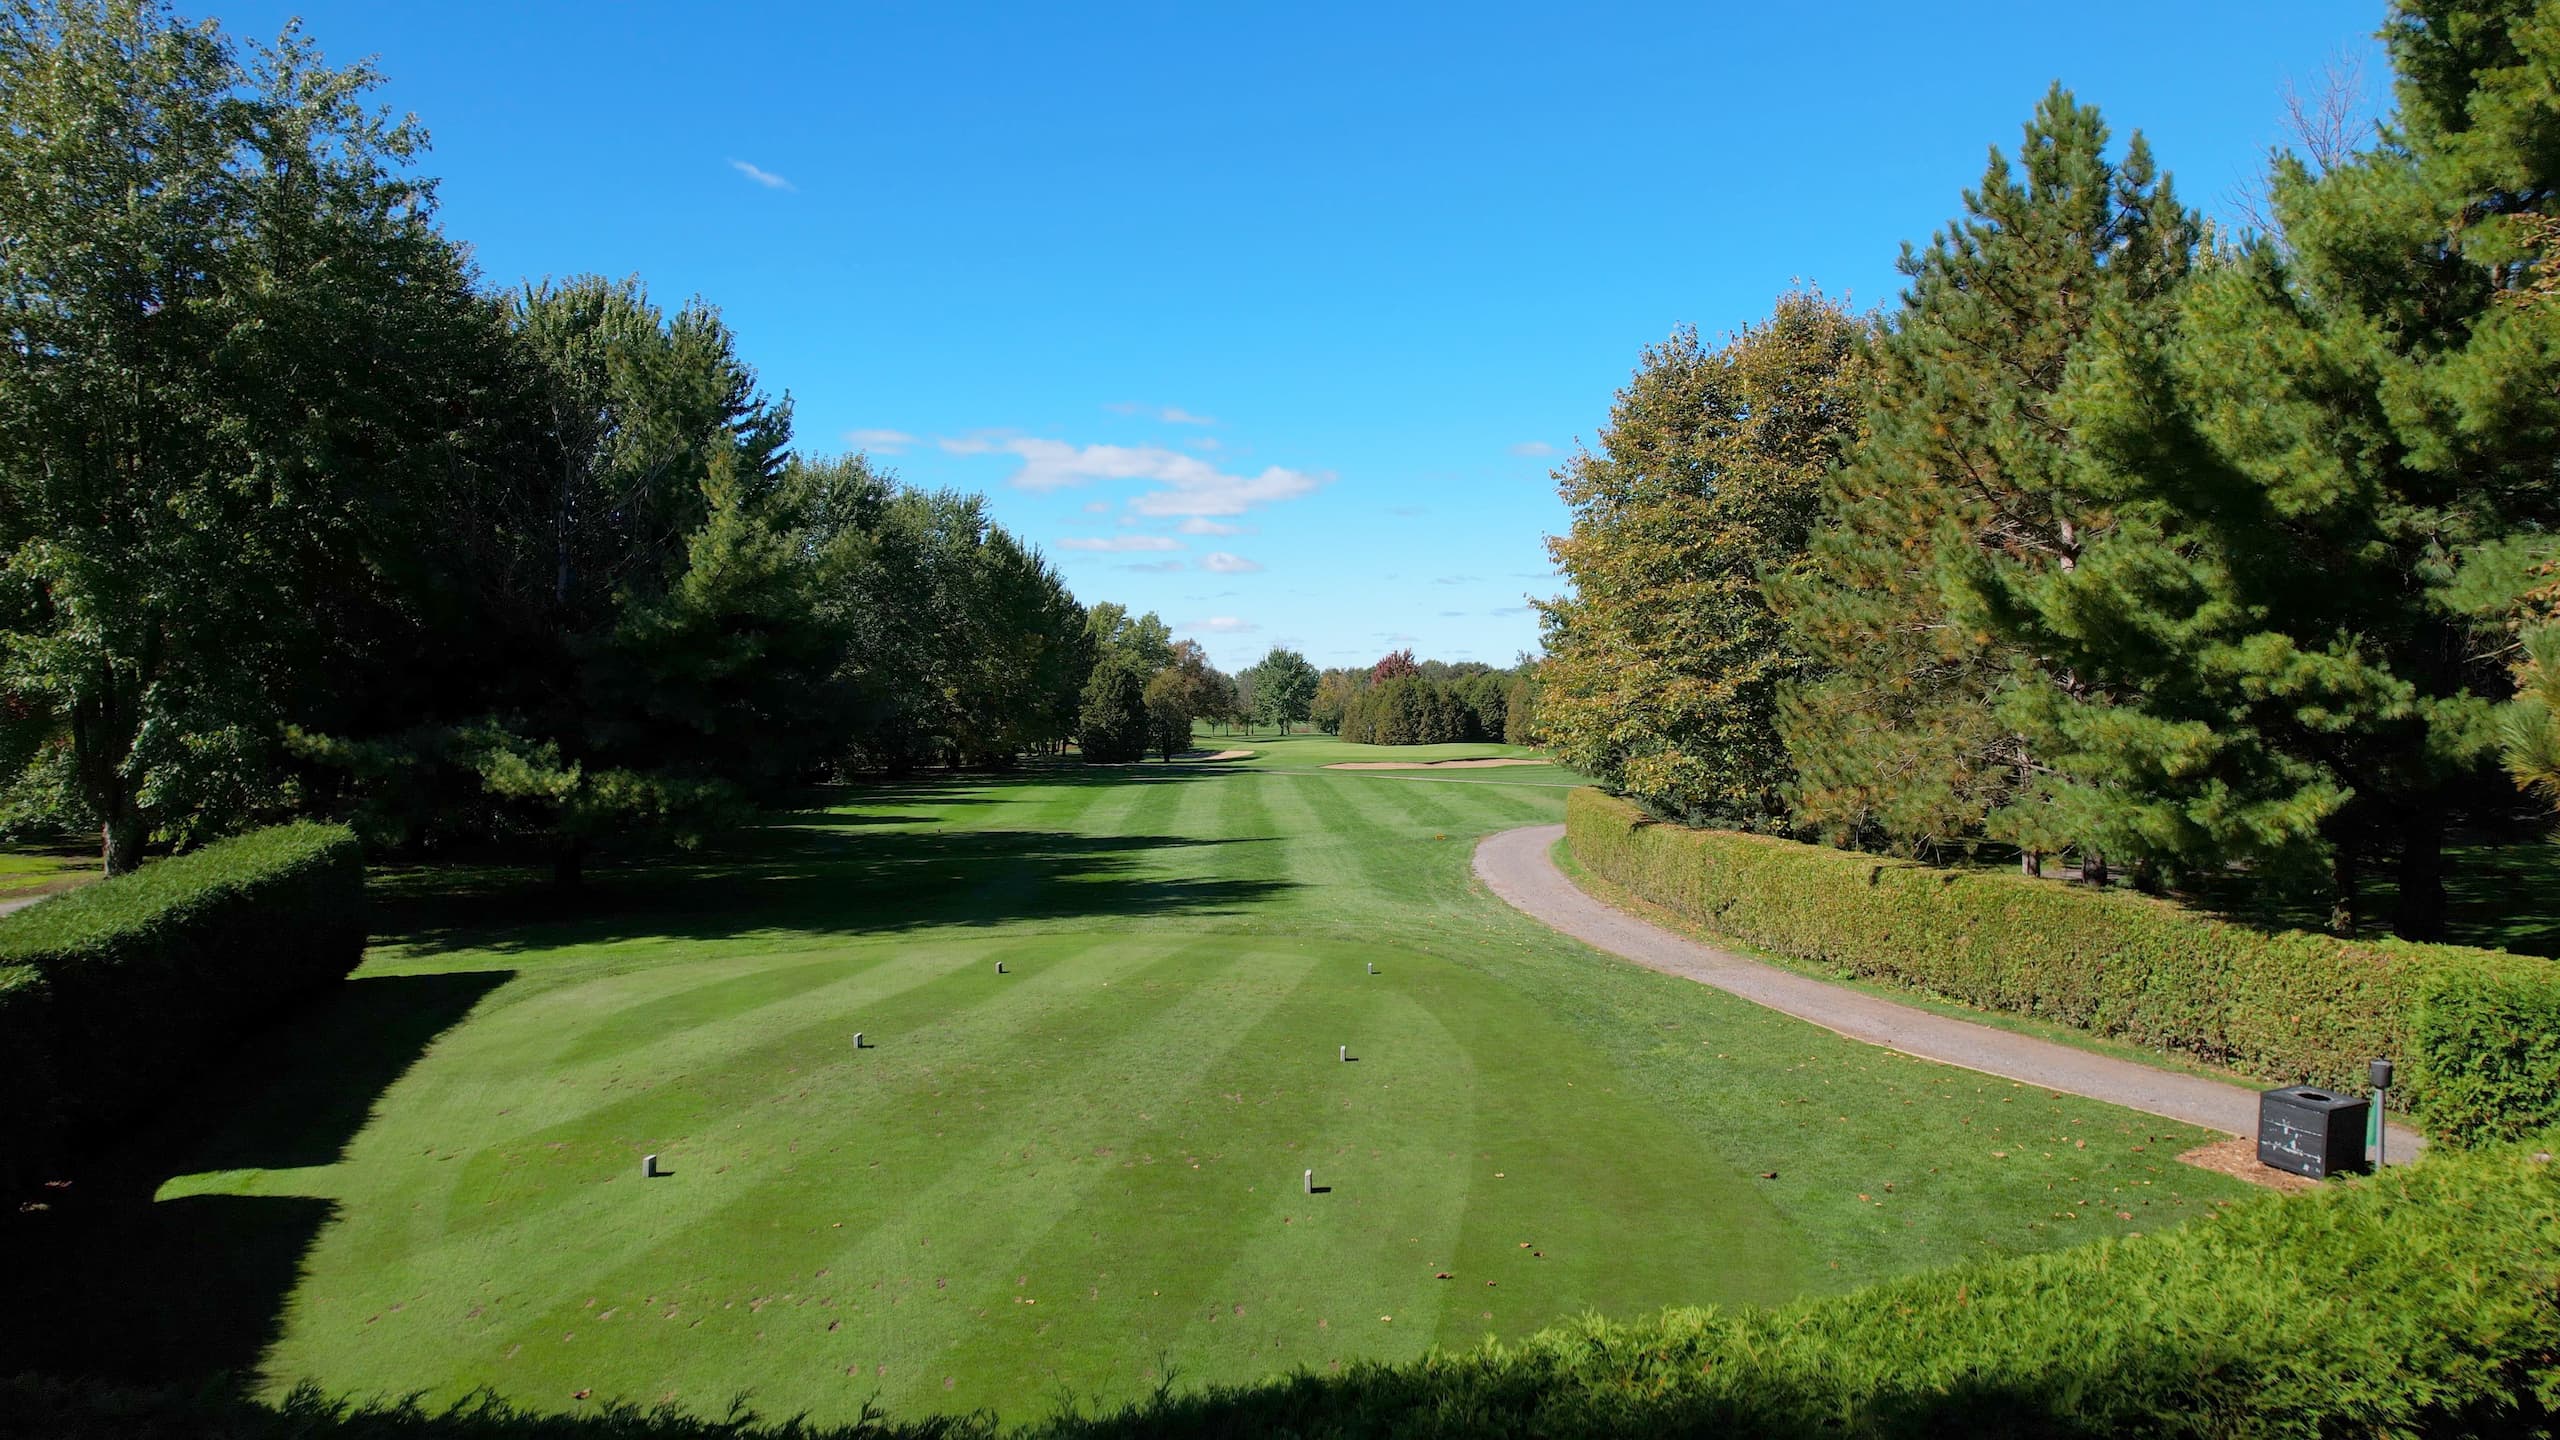
We start off at Casselview, with an easy par 5 that overlooks Butternut Creek. On this hole, a tee shot to the left would be preferable as this hole is slightly angled to the right.
Gold: 523
Blue: 512
White: 504
Green: 369
Red: 359
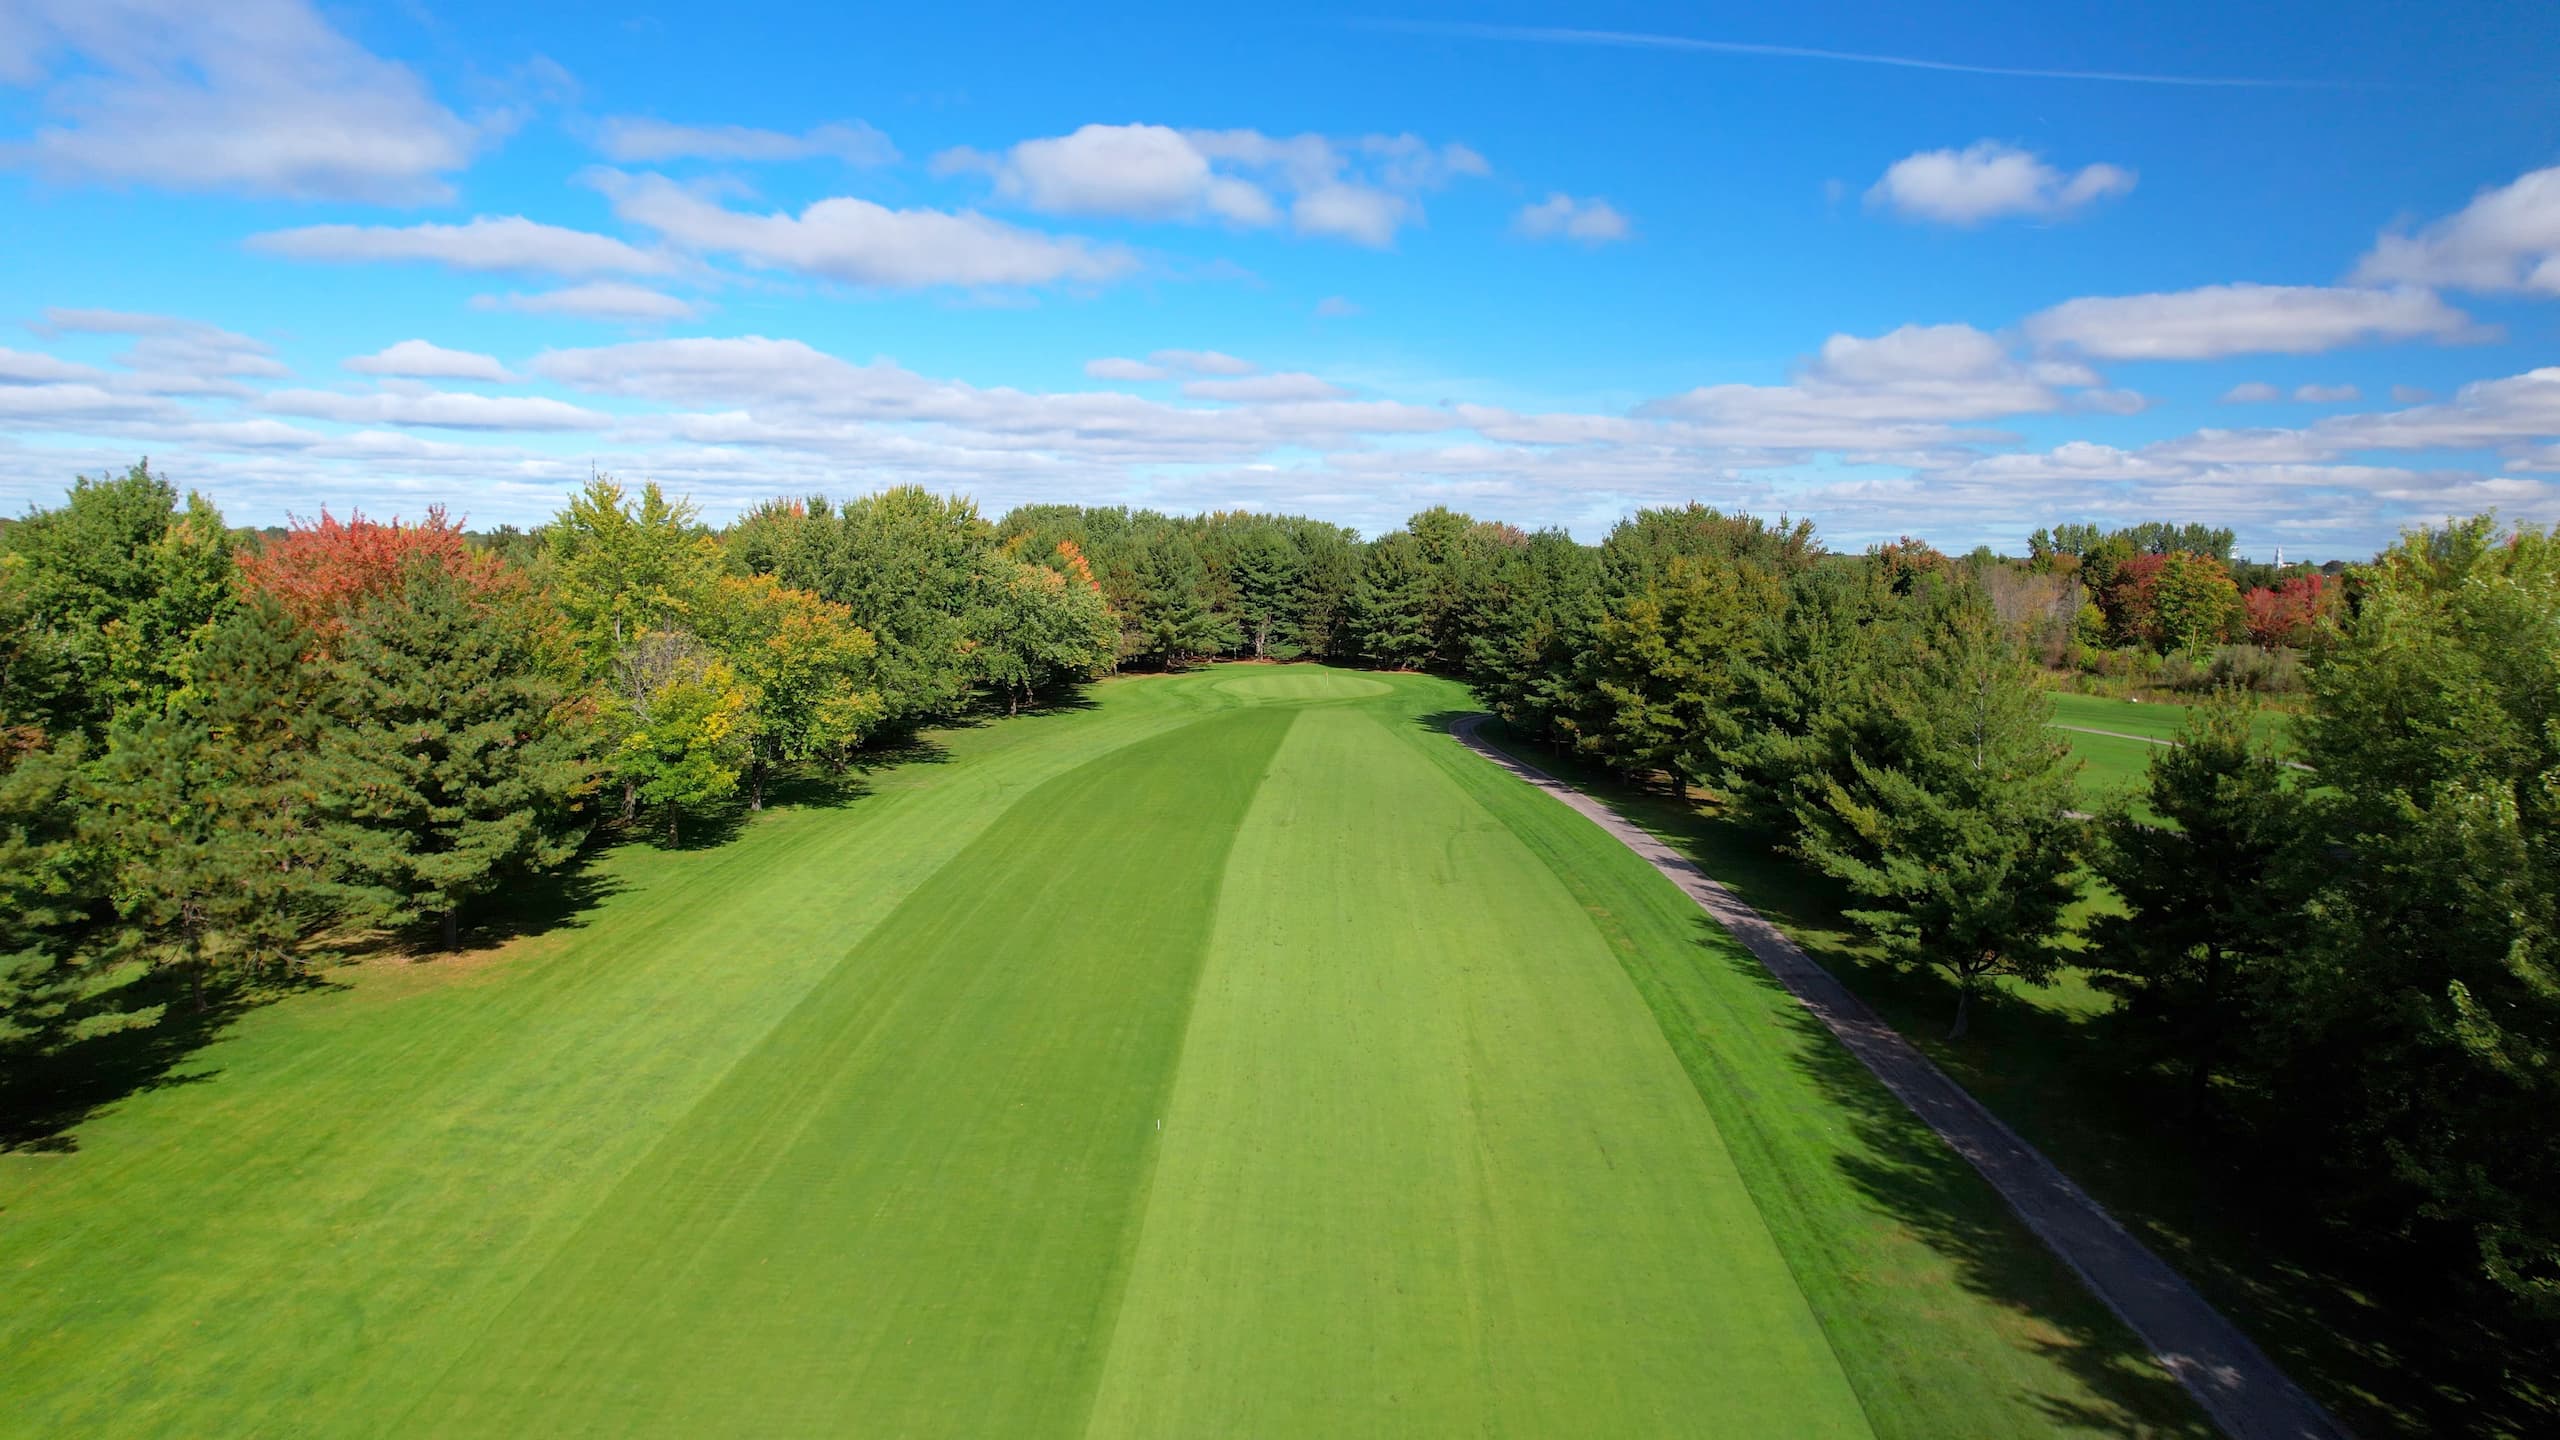
Hole 2
A straight par 4, we recommend a 3 wood off the tee, as this hole is downhill into the fairway. Avoid the left side as it will leave you out-of bounds. On your approach shot, make sure to locate the flagstick’s position as the green is more than 30 yards long.
Gold: 385
Blue: 385
White: 341
Green: 336
Red: 332
Hole 3
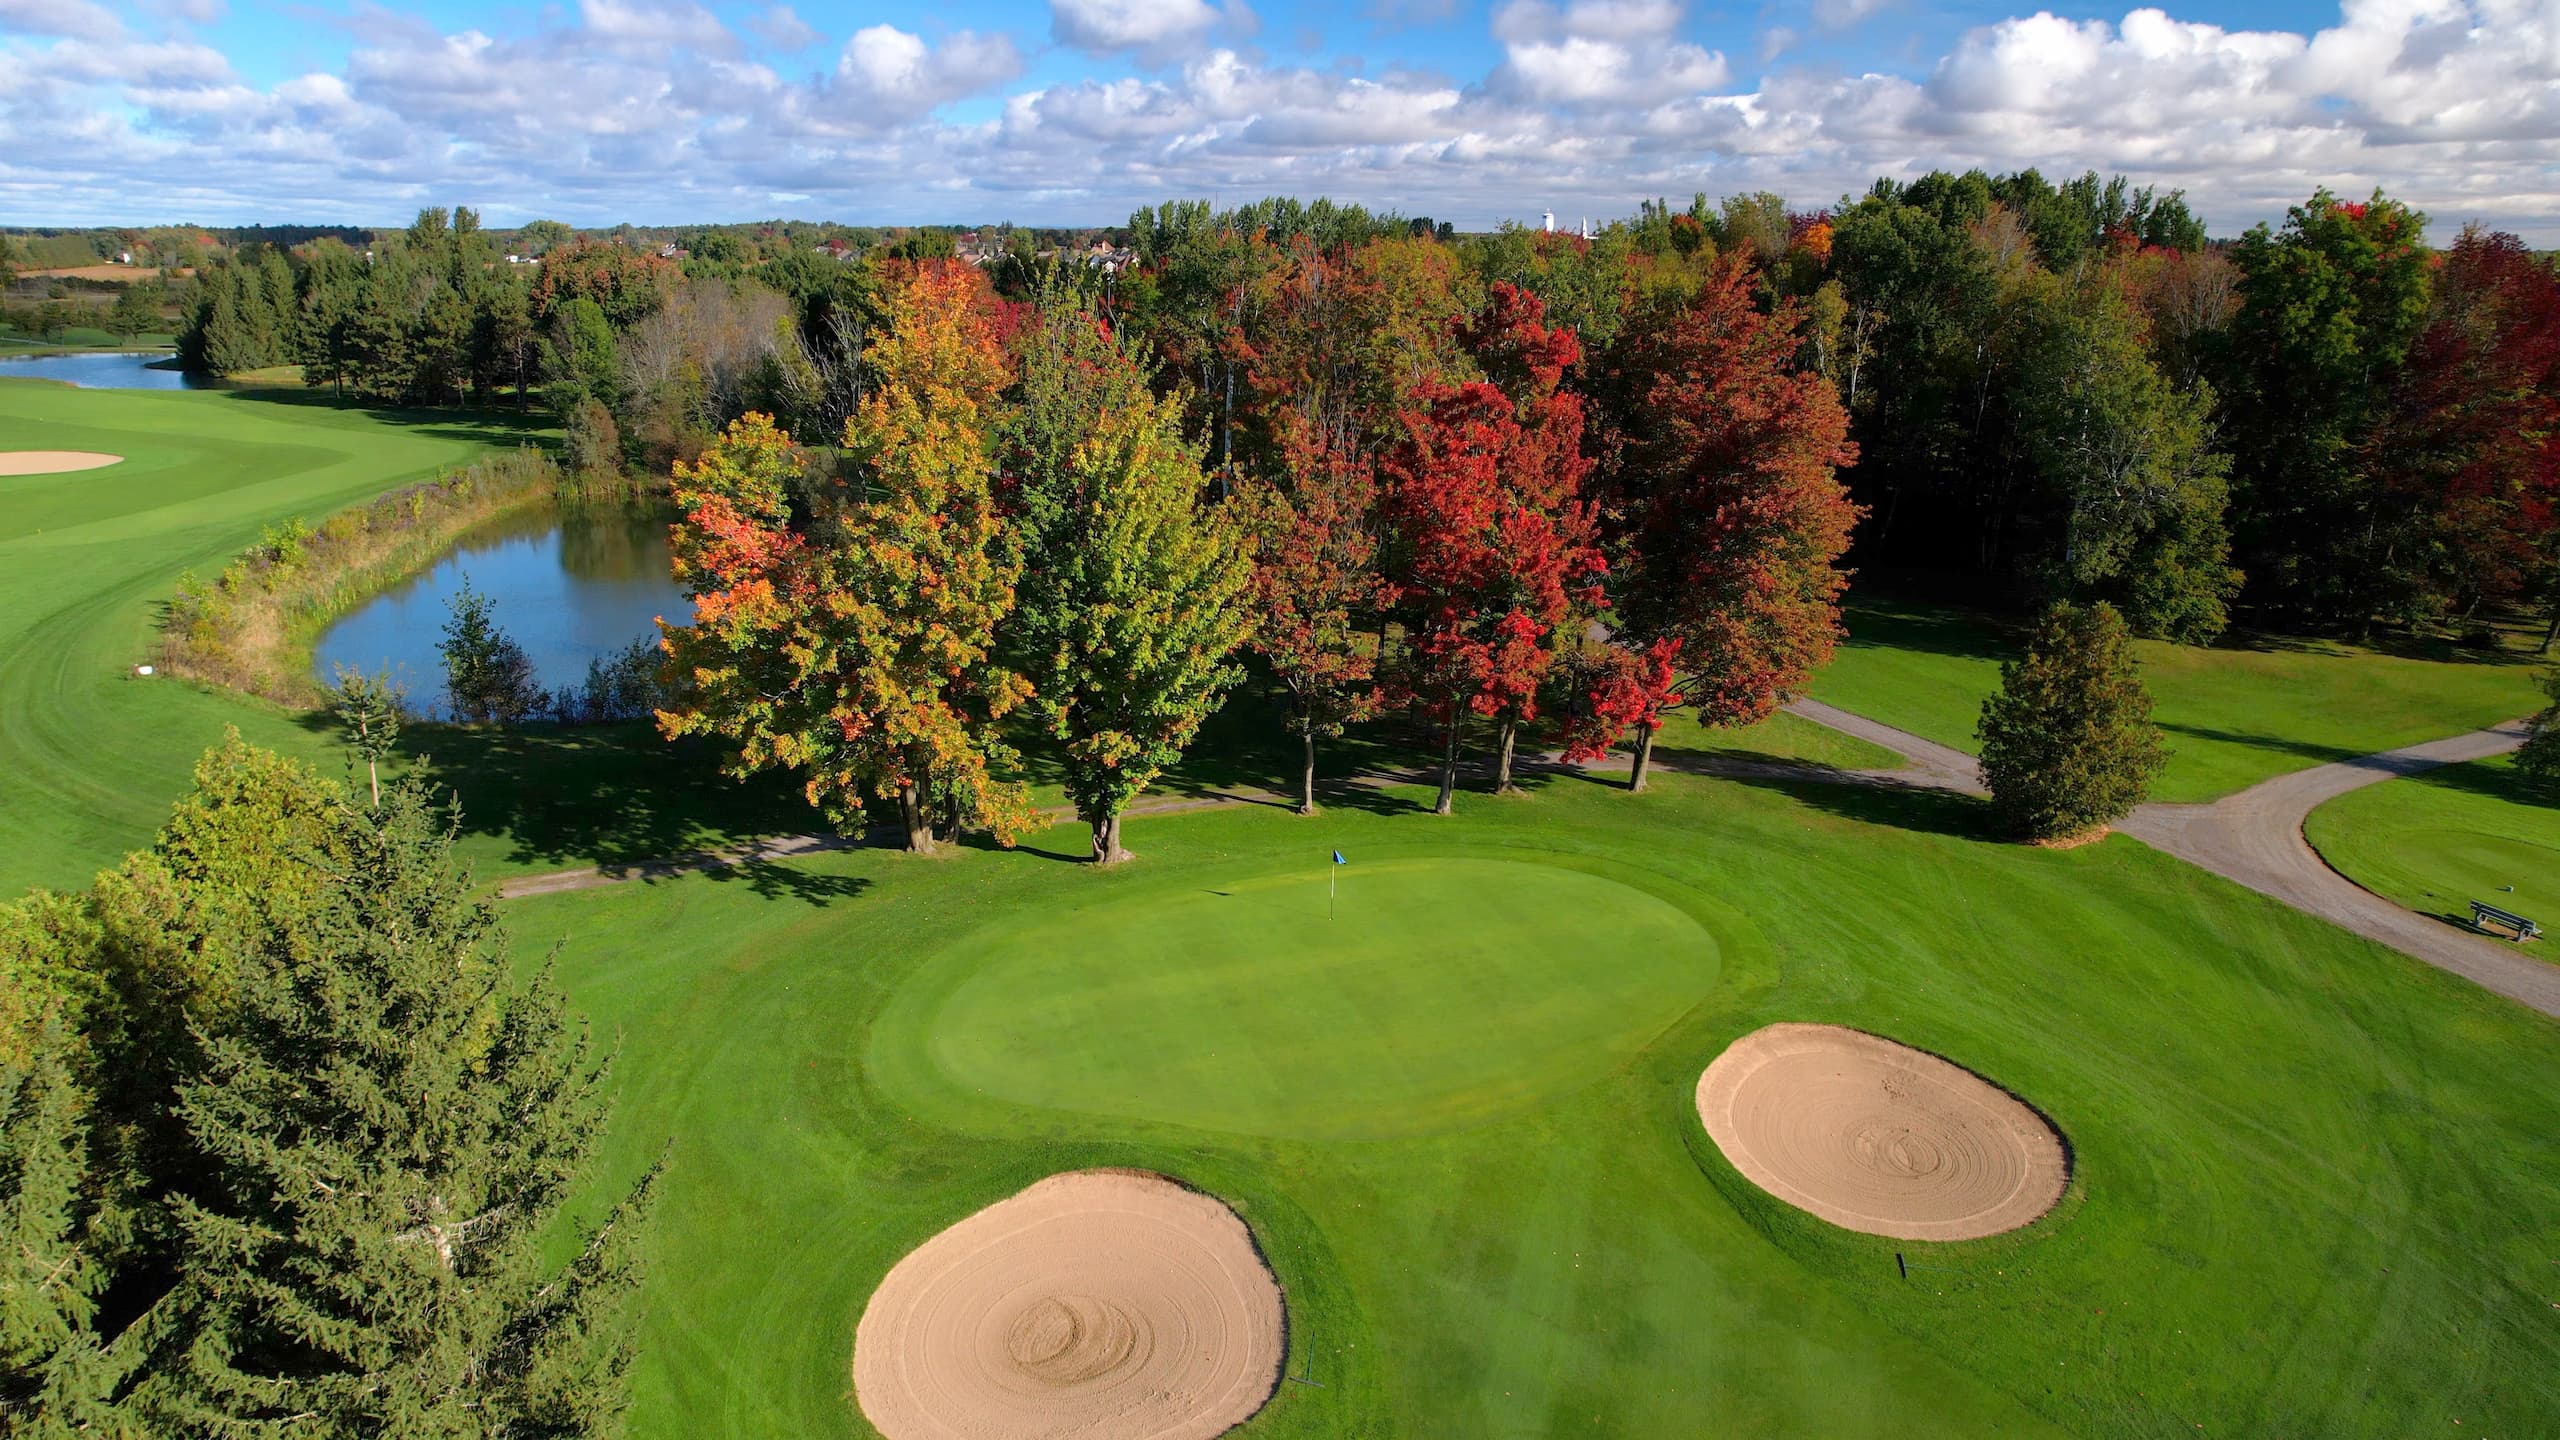
On this downhill par 3, it’s important to avoid the bunker on the right. We suggest keeping your ball short of the hole, as the green slopes from back to front.
Gold: 198
Blue: 180
White: 171
Green: 156
Red: 141
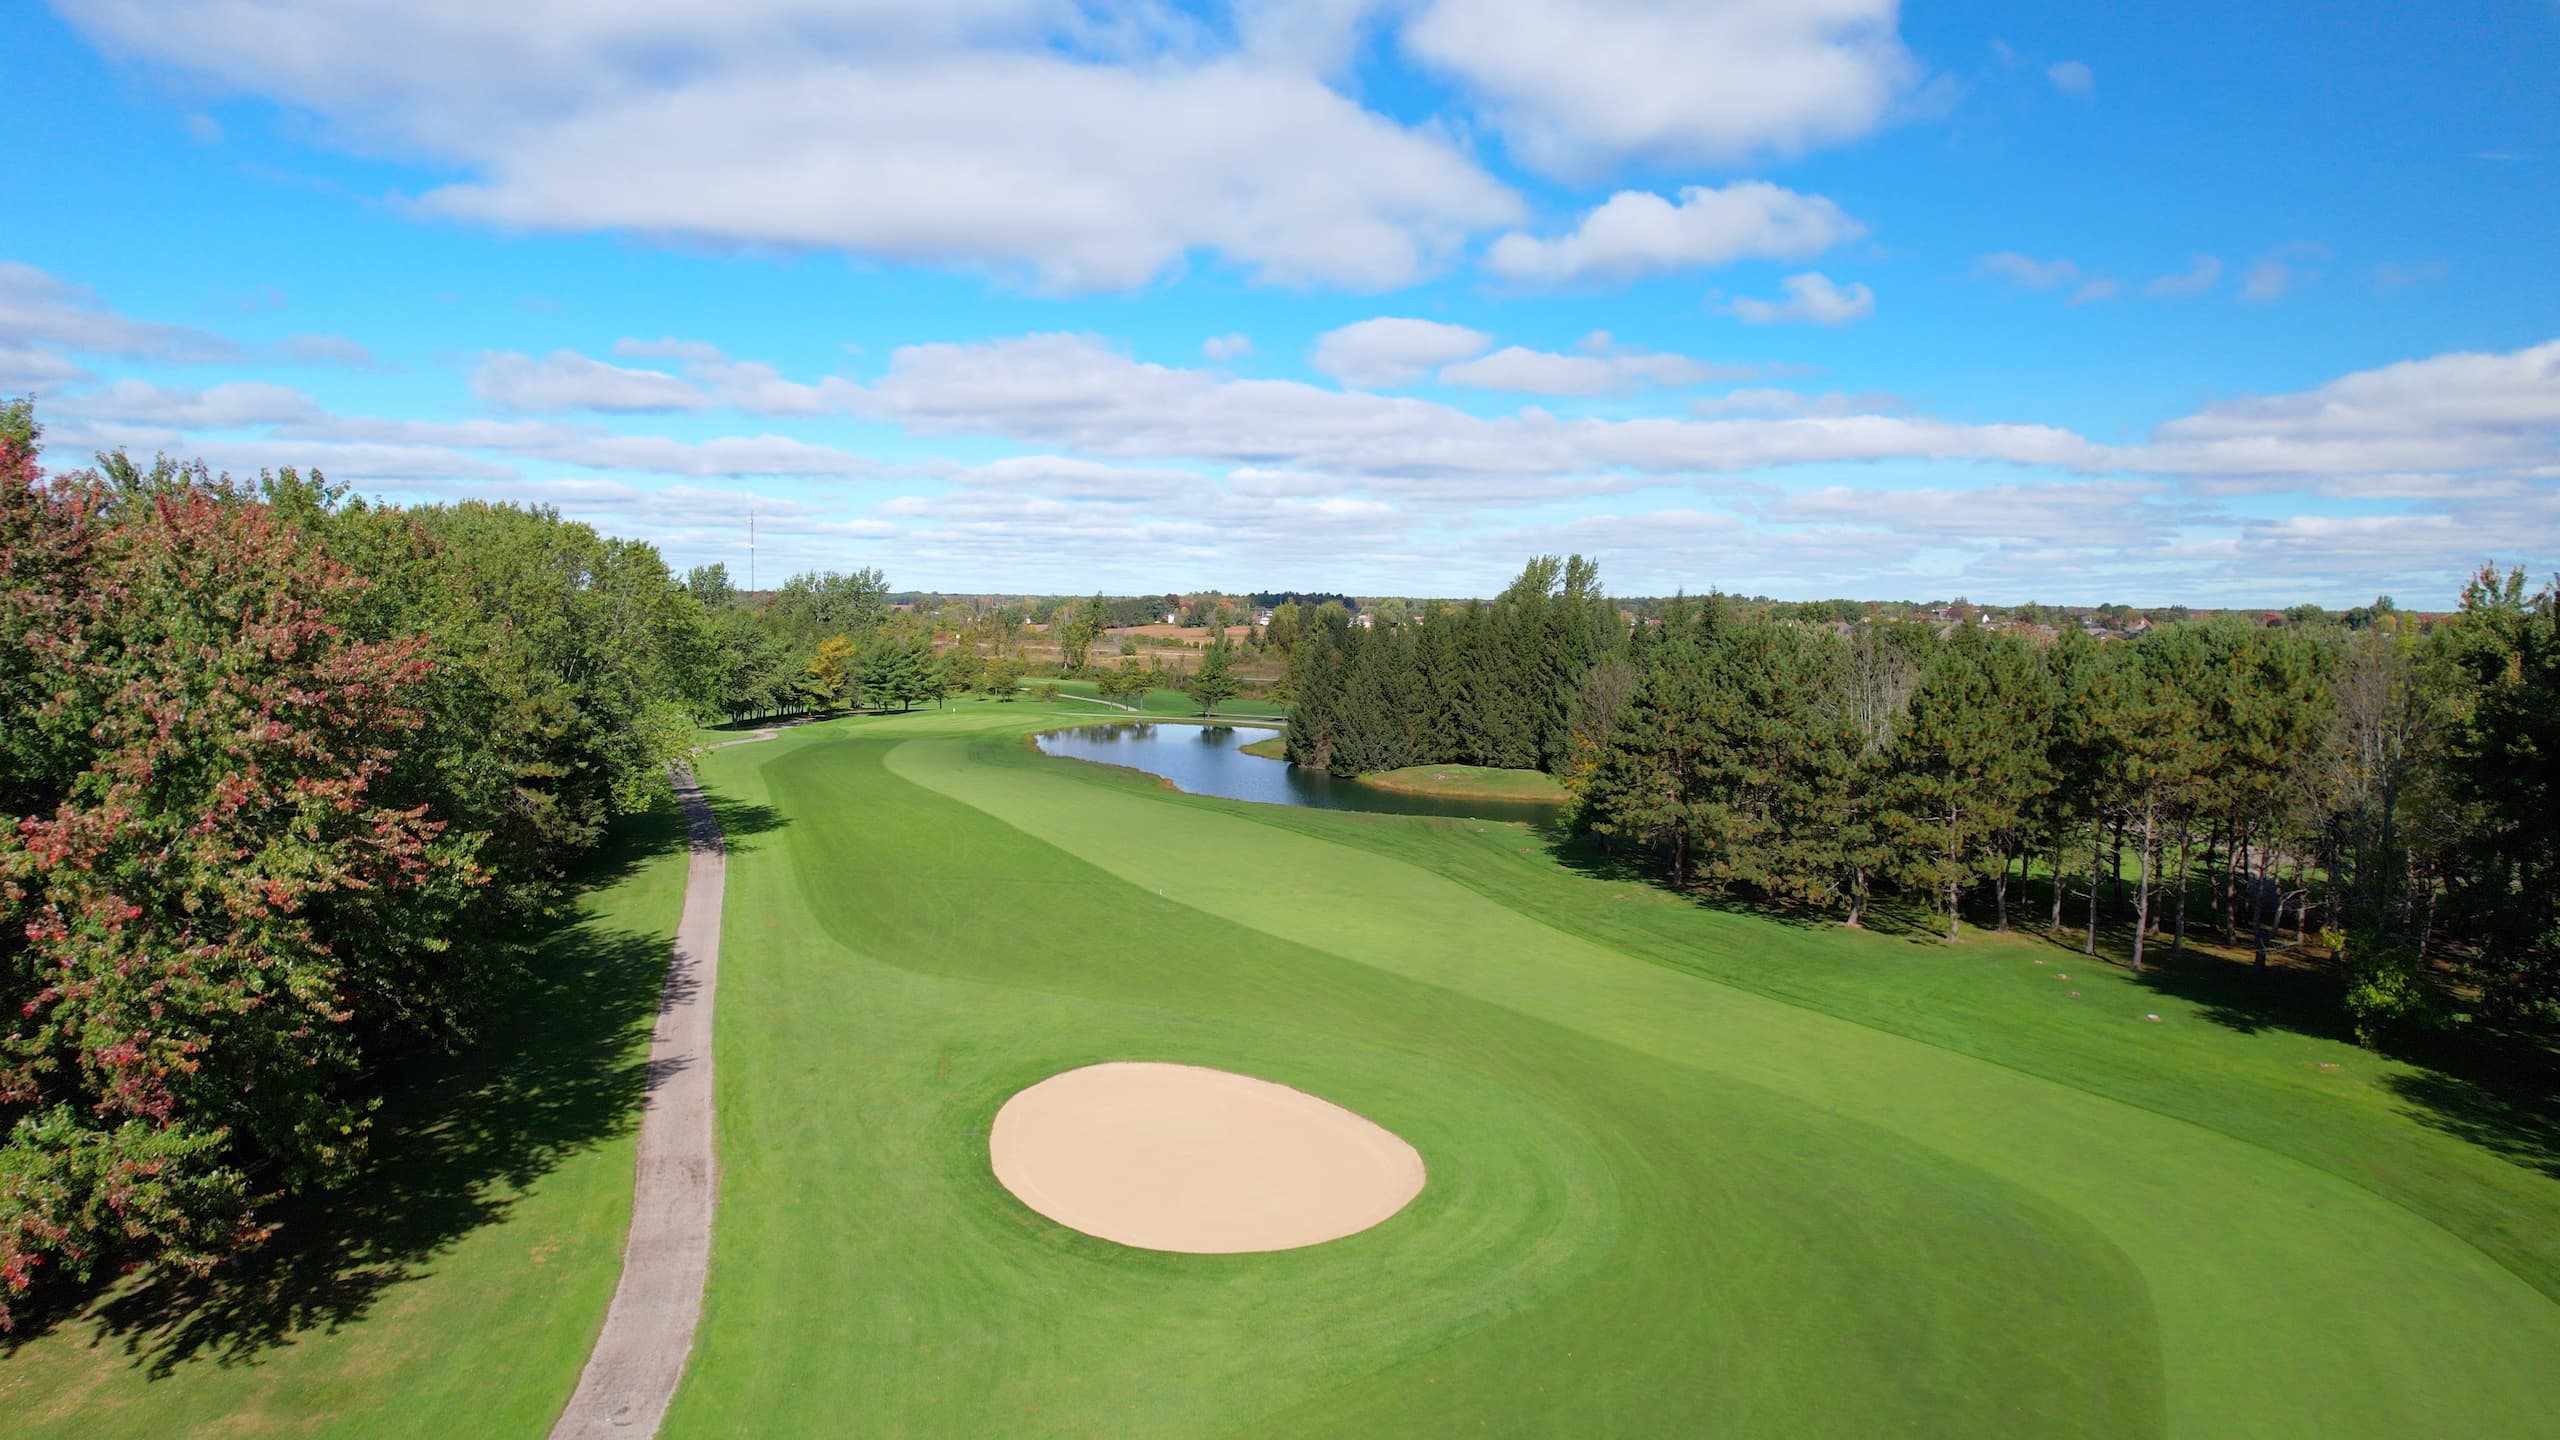
Hole 4
A short par 4 with a narrow fairway, hitting a tee shot of 200 to 225 yards is all you need. Your 2nd shot should be accessible with a wedge or short iron in hand to cross the pond.
Gold: 318
Blue: 318
White: 304
Green: 298
Red: 237
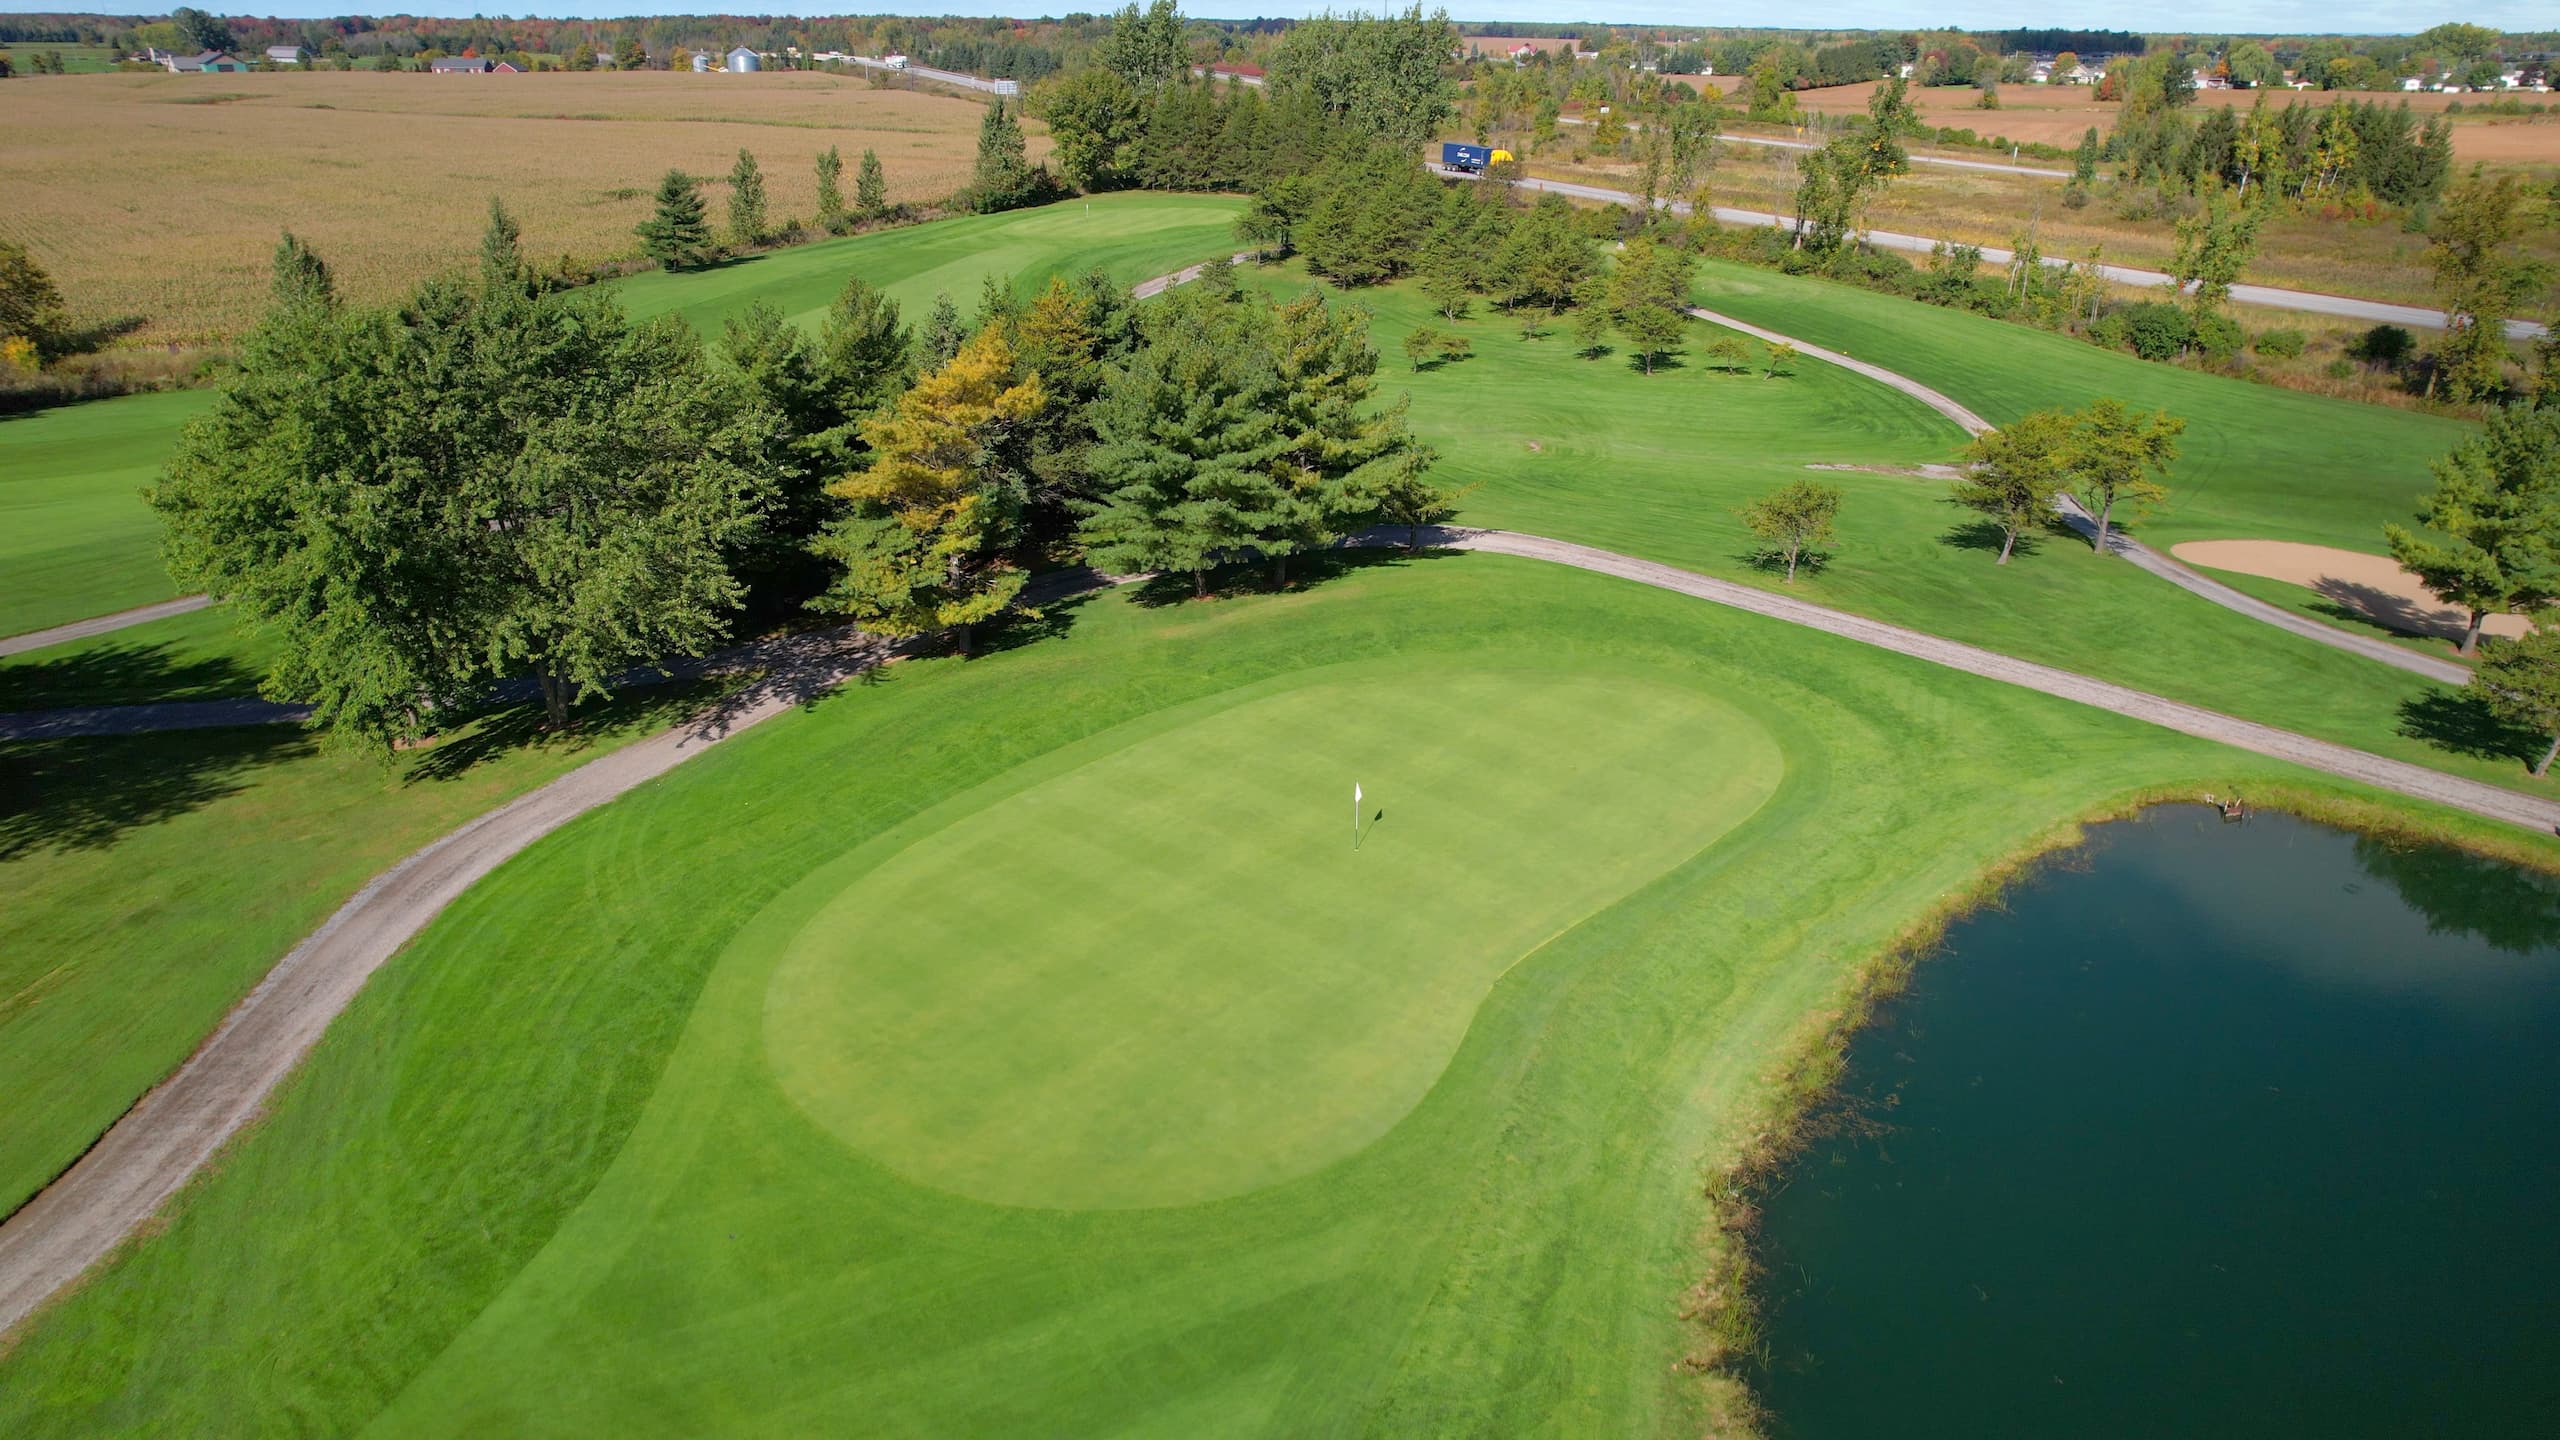
Hole 5
This short par 3 with a large green is generally one of the easiest holes on the course. Avoid an out-of-bounds tee shot at the back or the sand trap to the right of the green.
Gold: 162
Blue: 155
White: 144
Green: 133
Red: 126
Hole 6
This difficult par 5 is the longest on the course. A tee shot in the center of the fairway is recommended, as there is an out of bounds on the left that runs all the way to the green. Trees are also in play if you miss your tee shot to the right. Watch out for the sand trap on the left near the green on your 3rd shot.
Gold: 601
Blue: 580
White: 545
Green: 469
Red: 464
Hole 7
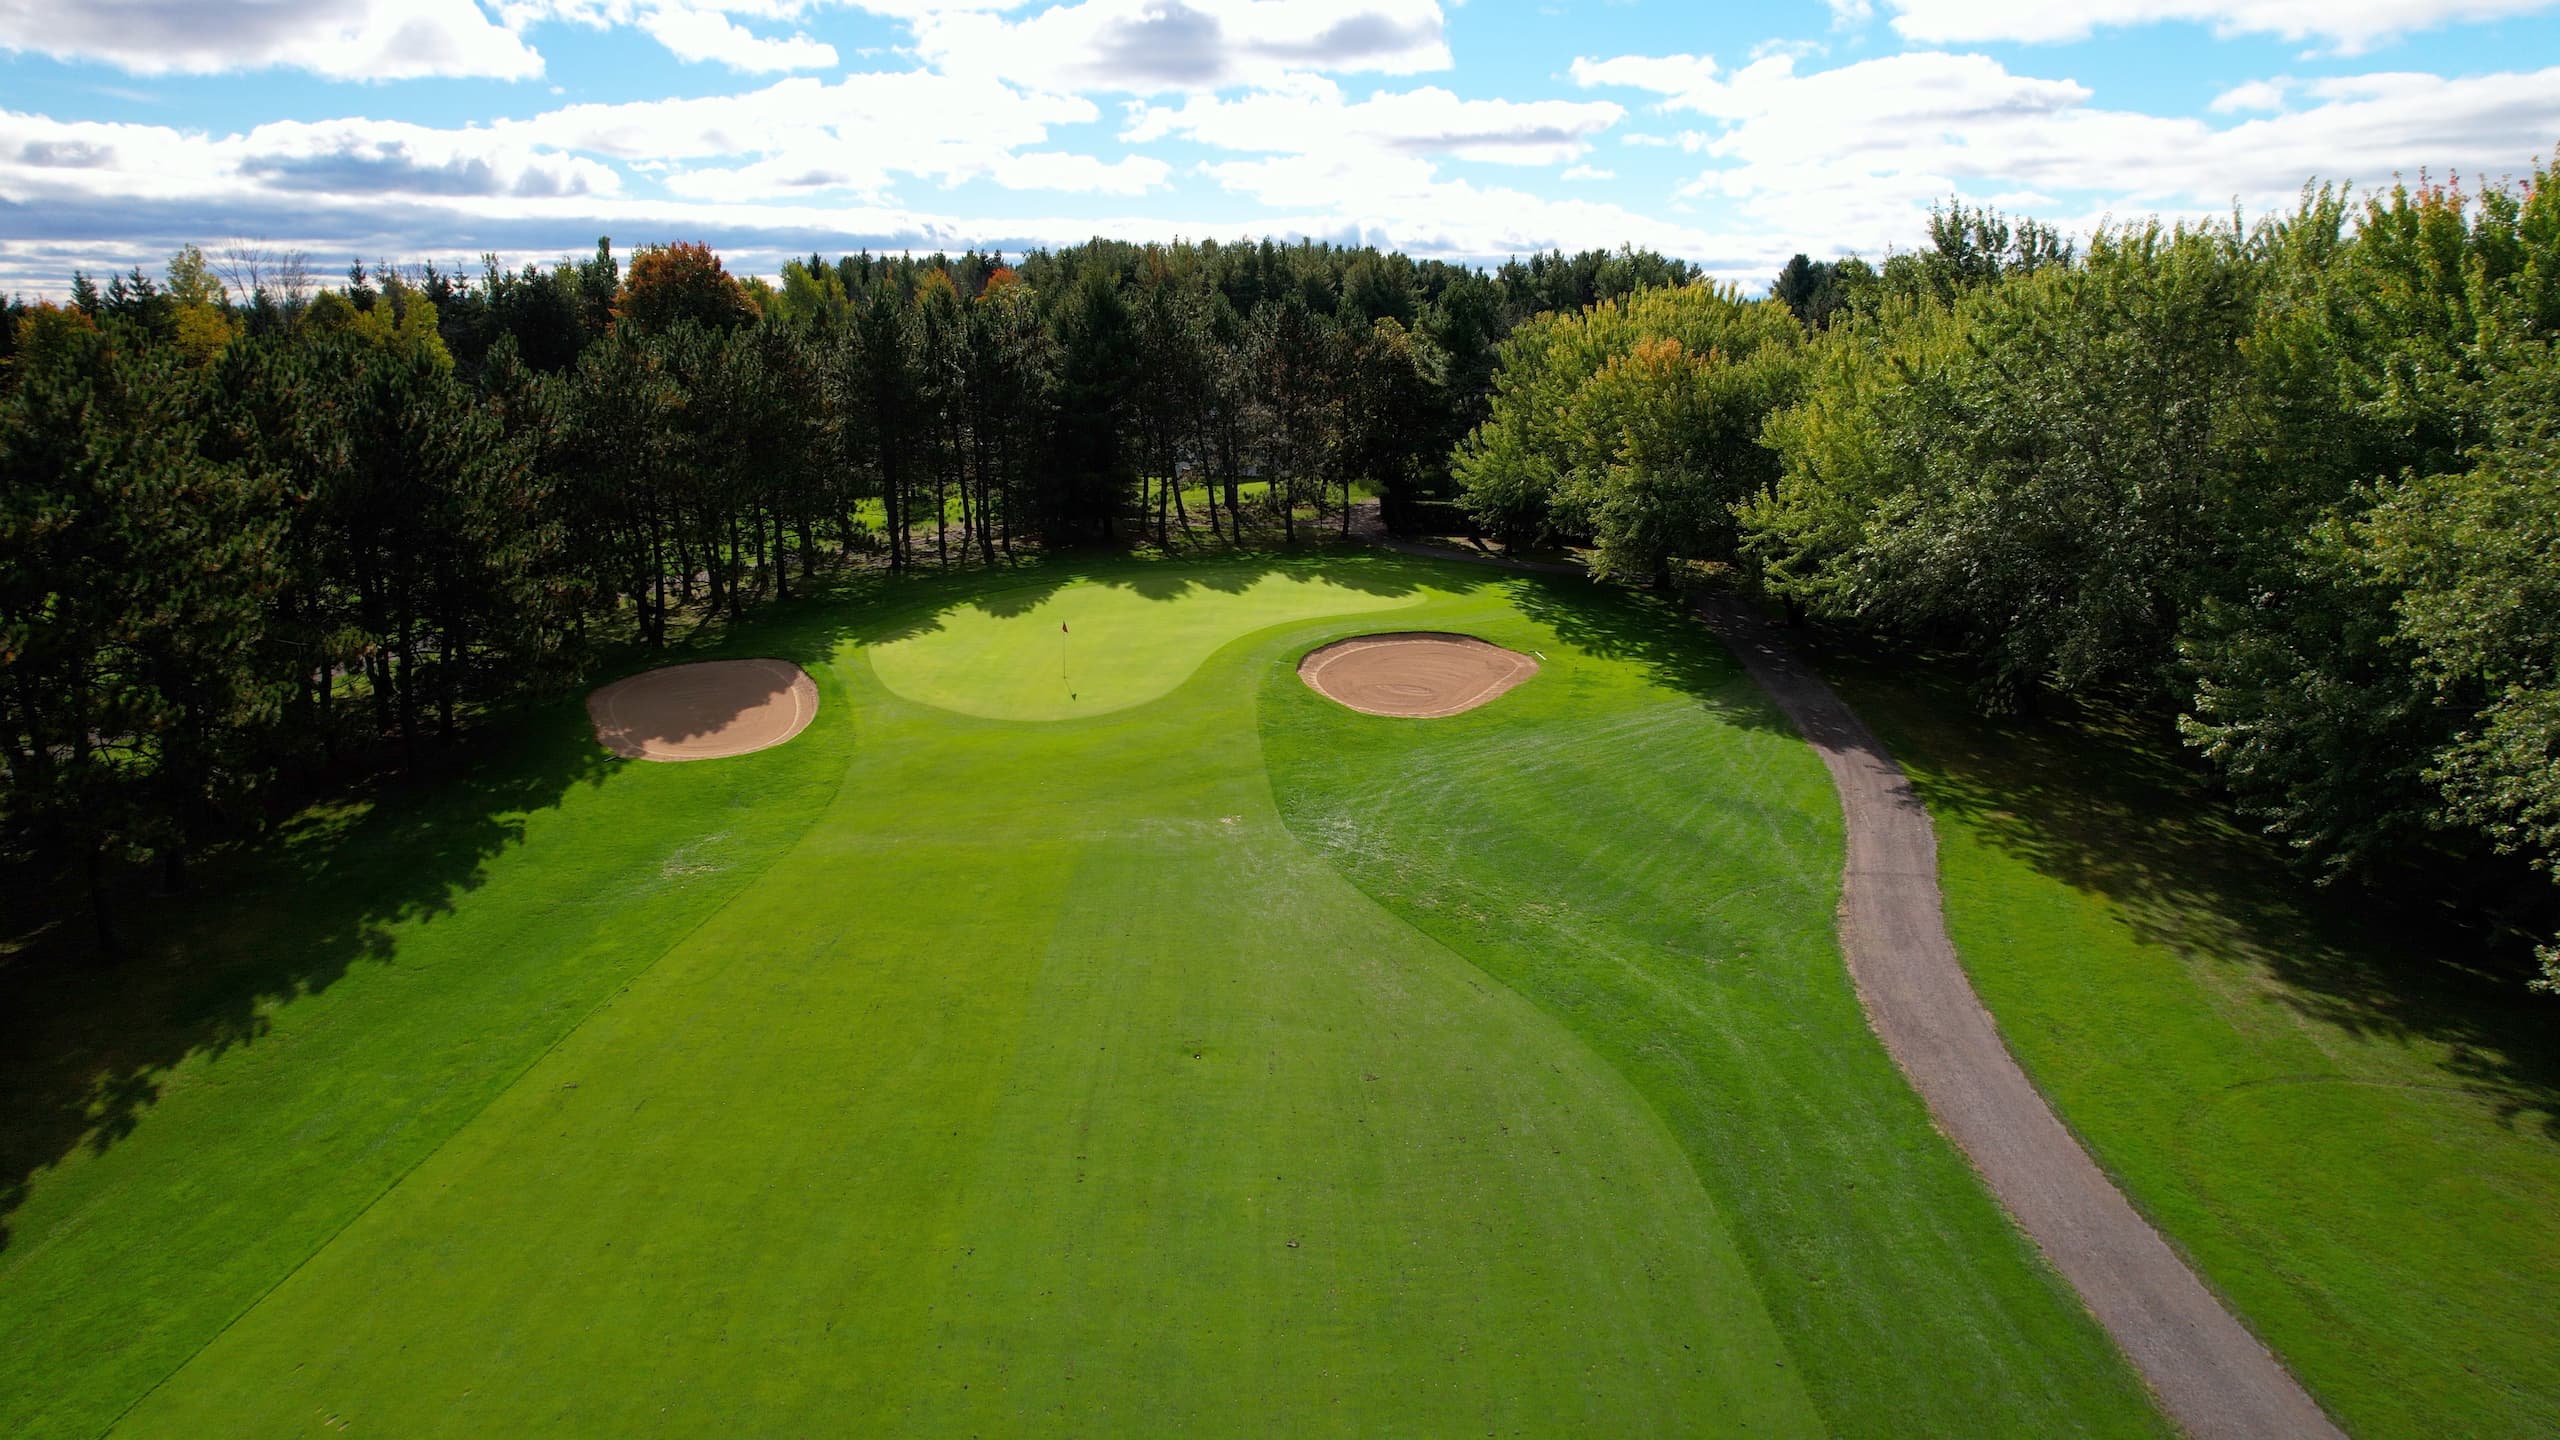
This par 3 is very well protected by two bunkers, one on the front and the other to the left. This hole has an undulated green which can make putting tricky.
Gold: 174
Blue: 156
White: 146
Green: 137
Red: 102
Hole 8
A straight away par 4 which includes a very generous fairway. You will need to cross the Butternut Creek if you want to reach it. The green plays higher up, with a wide but shallow green that slopes from back to front.
Gold: 367
Blue: 355
White: 343
Green: 266
Red: 254
Hole 9
This par 5 is a dogleg right. It typically plays the 2nd most difficult hole on the front 9 of the golf course. The tee shot should be directed left of the fairway as there are plenty of trees on the right to be avoided. The very demanding 2nd shot should be played short of Butternut Creek. Make sure to aim for the middle of the green on your 3rd shot, as this green slopes away in all directions.
Gold: 527
Blue: 494
White: 476
Green: 470
Red: 363
Hole 10
This hole is the longest par 4 on the course. Aim for the middle on your tee shot as trees border this hole on both sides.
Gold: 432
Blue: 387
White: 376
Green: 336
Red: 332
Hole 11
This short par 5 is a dogleg left. A tee shot to the right of the bunker gives you a chance to attack the green in 2. The 2nd shot is a risk/reward, be careful not to hit it right as there is a body of water awaiting your golf ball.
Gold: 472
Blue: 472
White: 452
Green: 435
Red: 393
Hole 12
A shot par 4 with a narrow fairway. Avoid the two bunkers on your approach shot on both the left and right side of green. This half-moon shaped green sees its first portion sloping from left to right.
Gold: 567
Blue: 549
White: 482
Green: 396
Red: 379
Hole 13
Short par-4 with a narrow fairway on the 2nd shot to avoid the 2 bunkers, one to the left and the other to the right of the green. The first portion of the green slopes from left to right, with a half-moon green.
Gold: 327
Blue: 322
White: 310
Green: 275
Red: 270
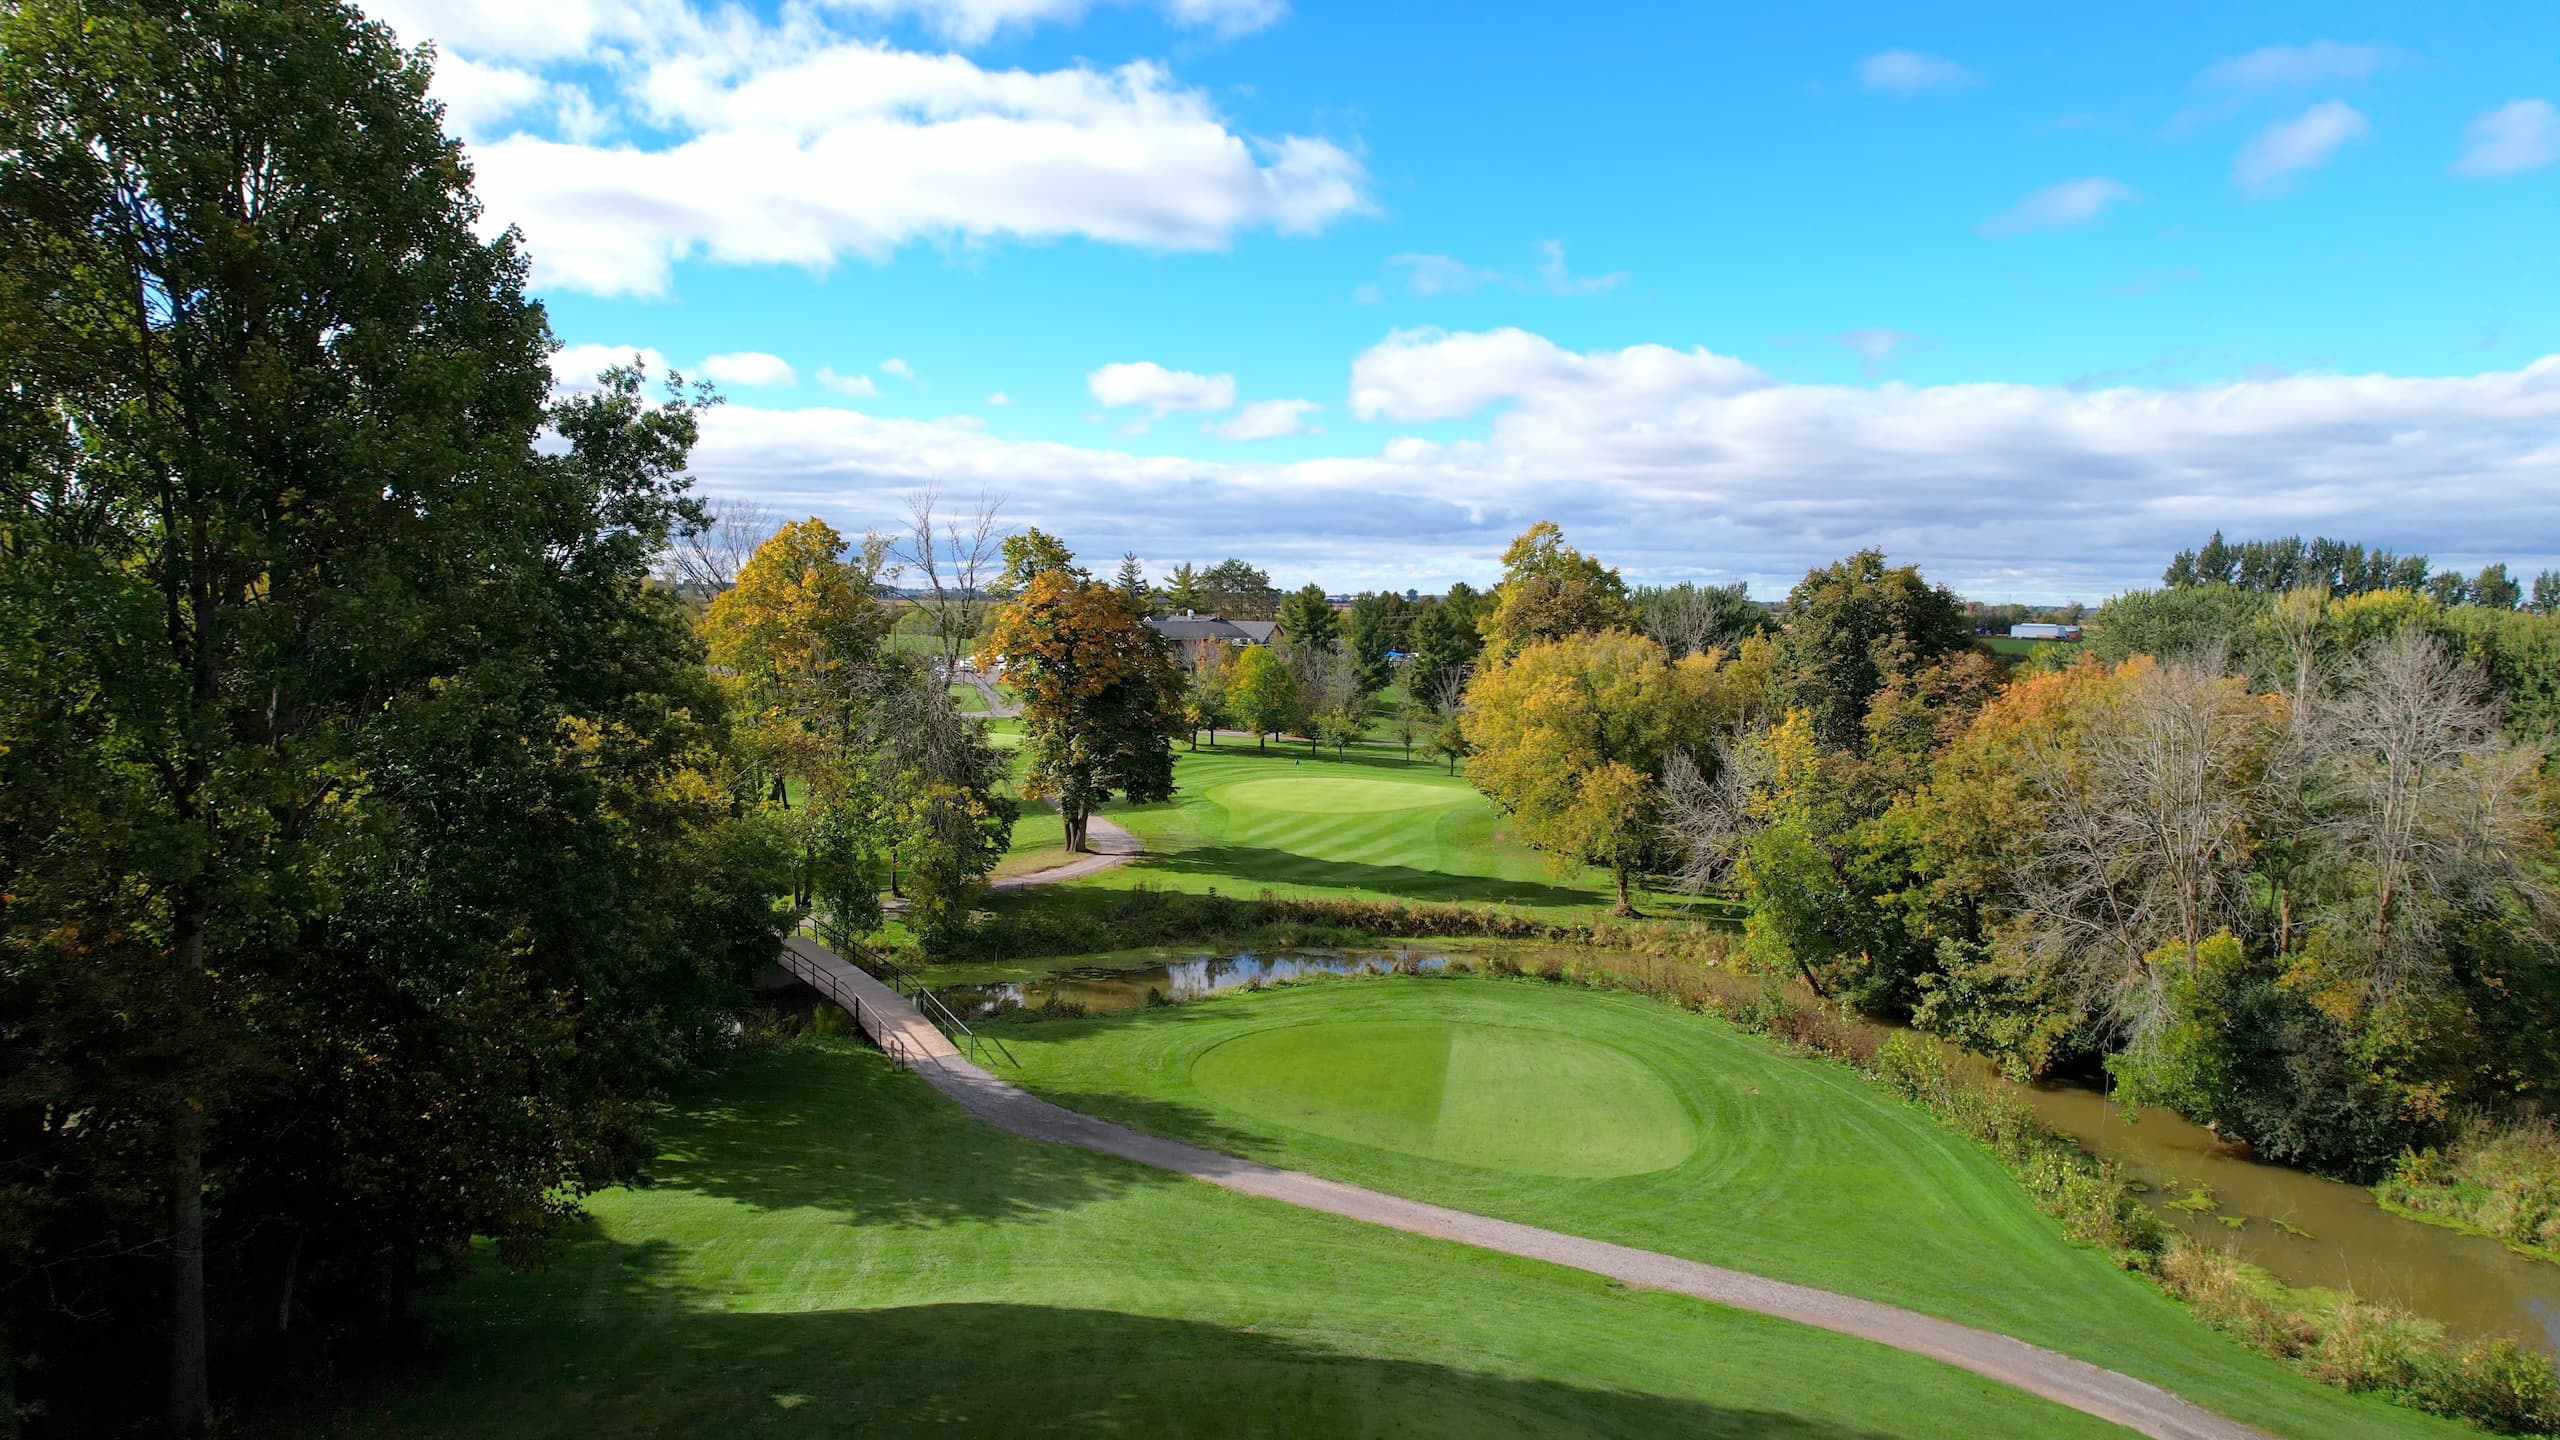
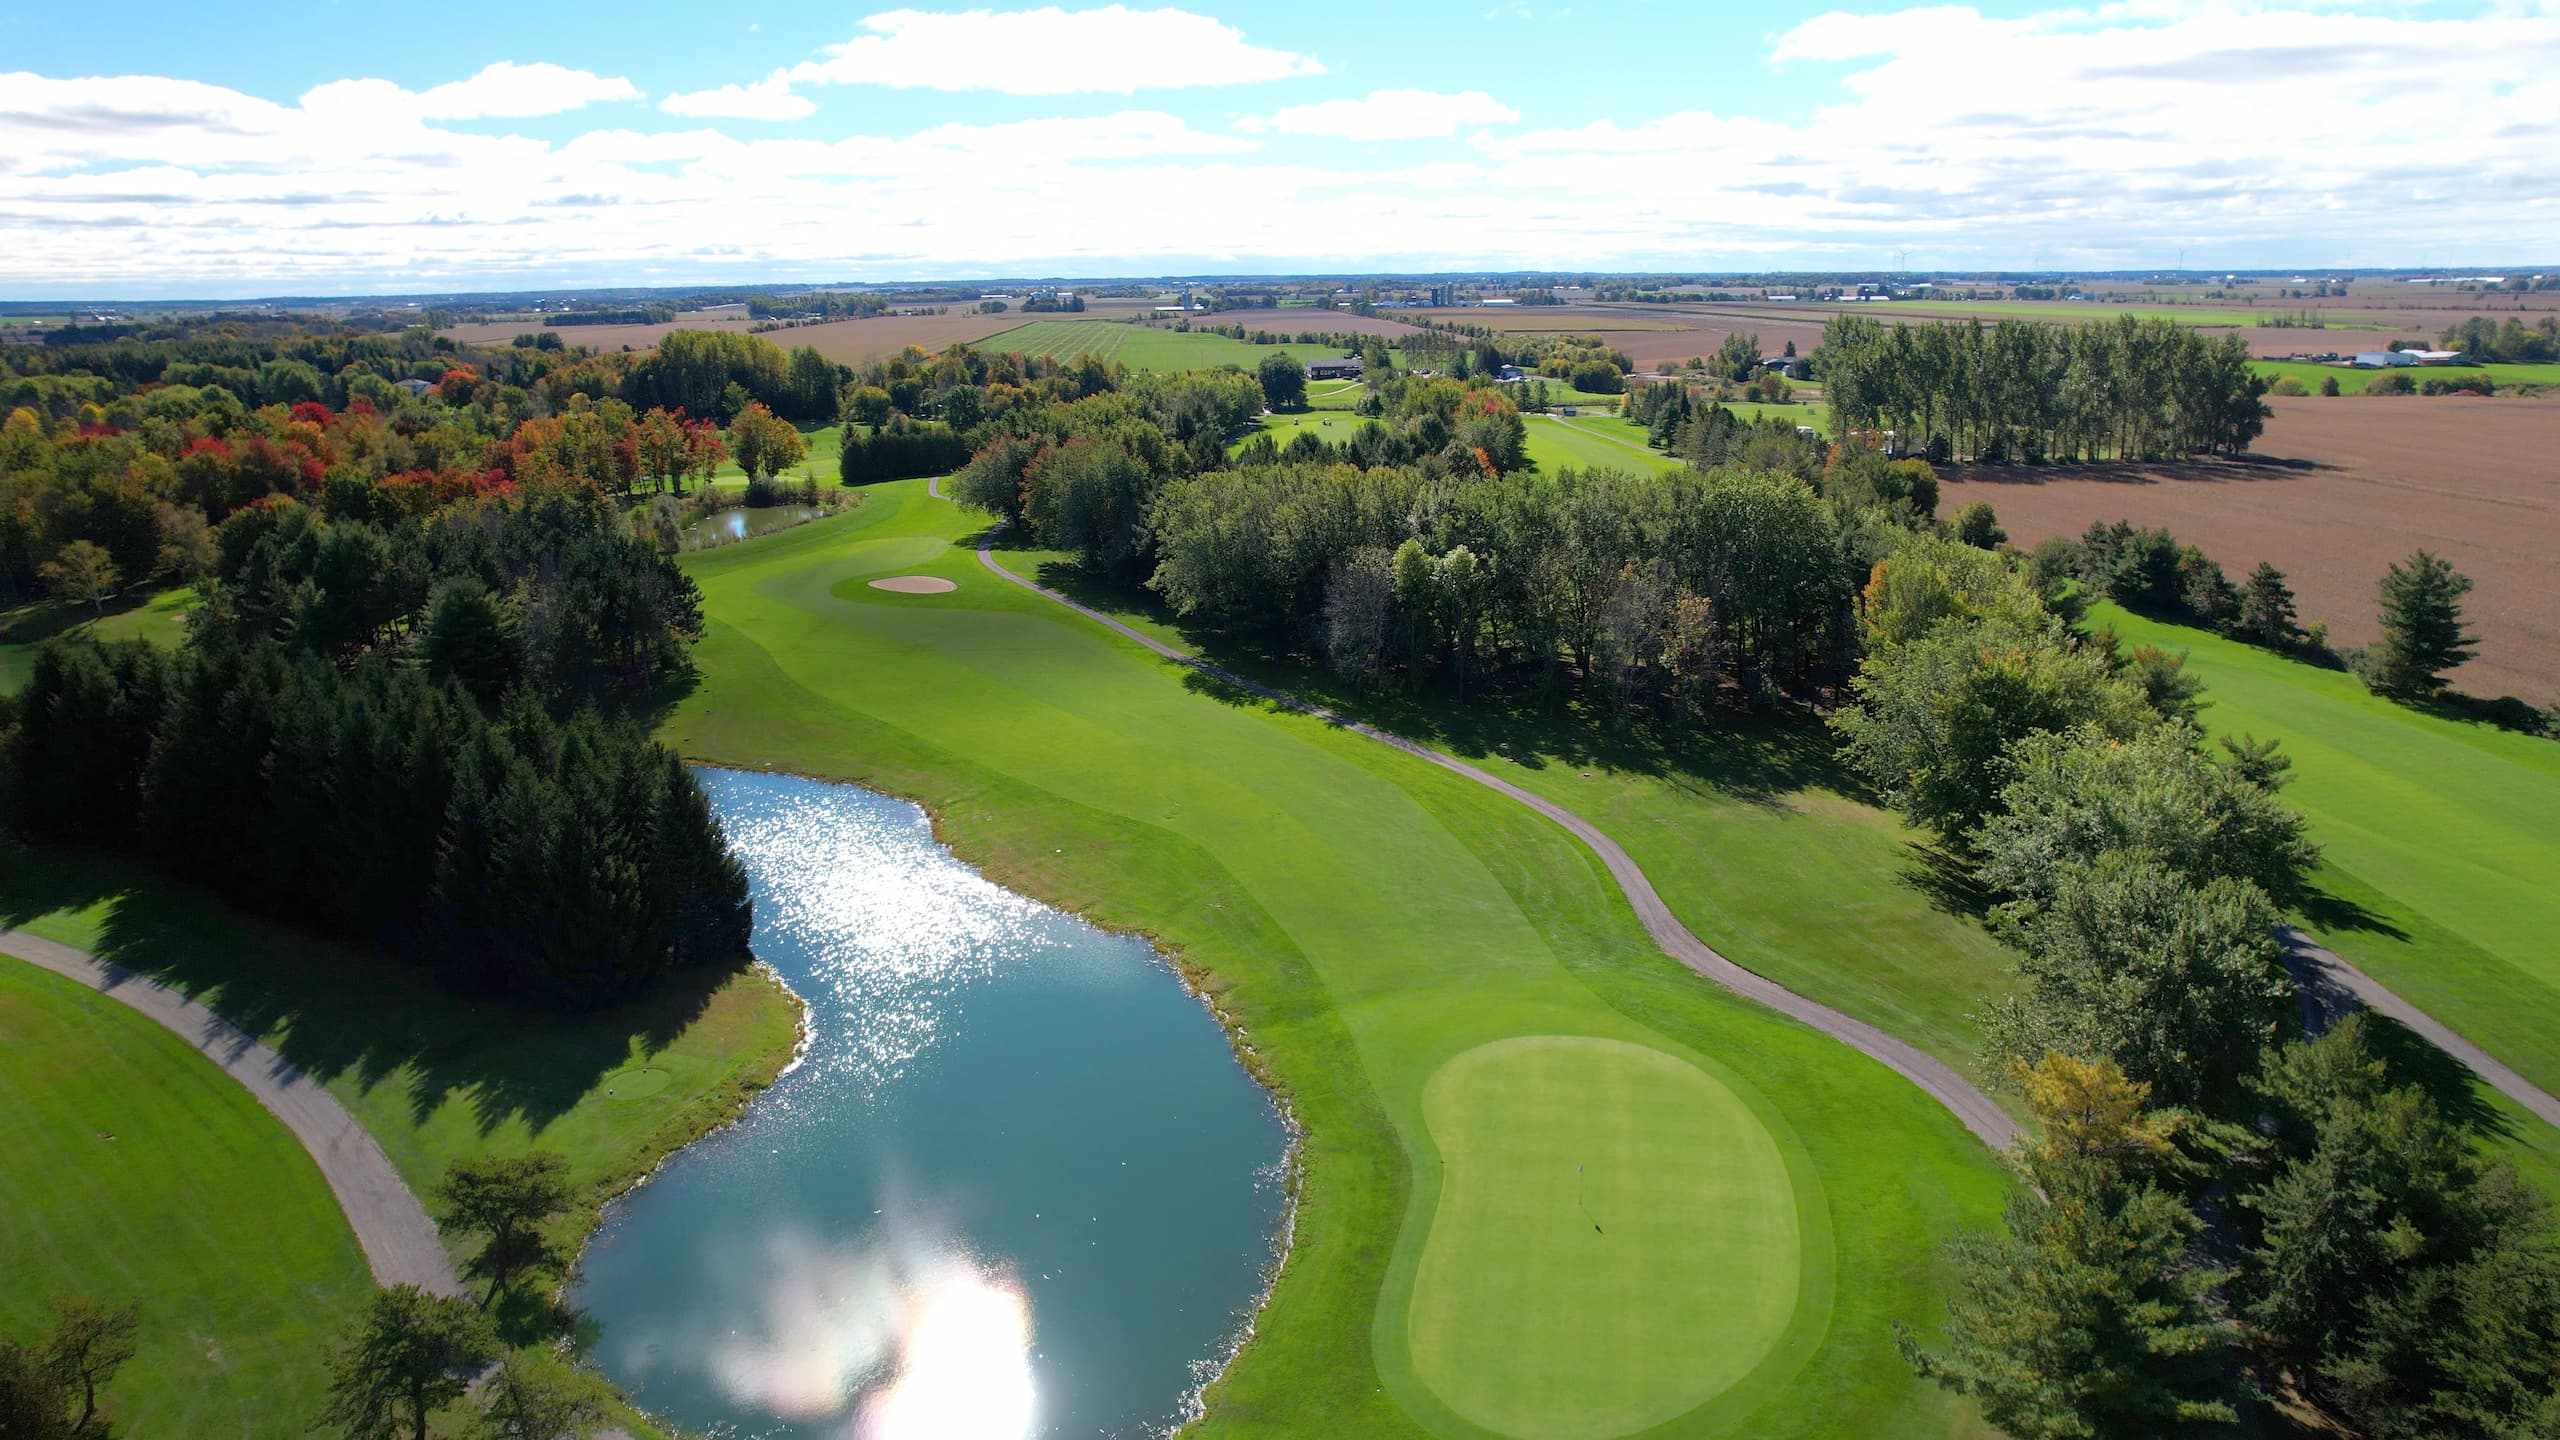
Hole 14
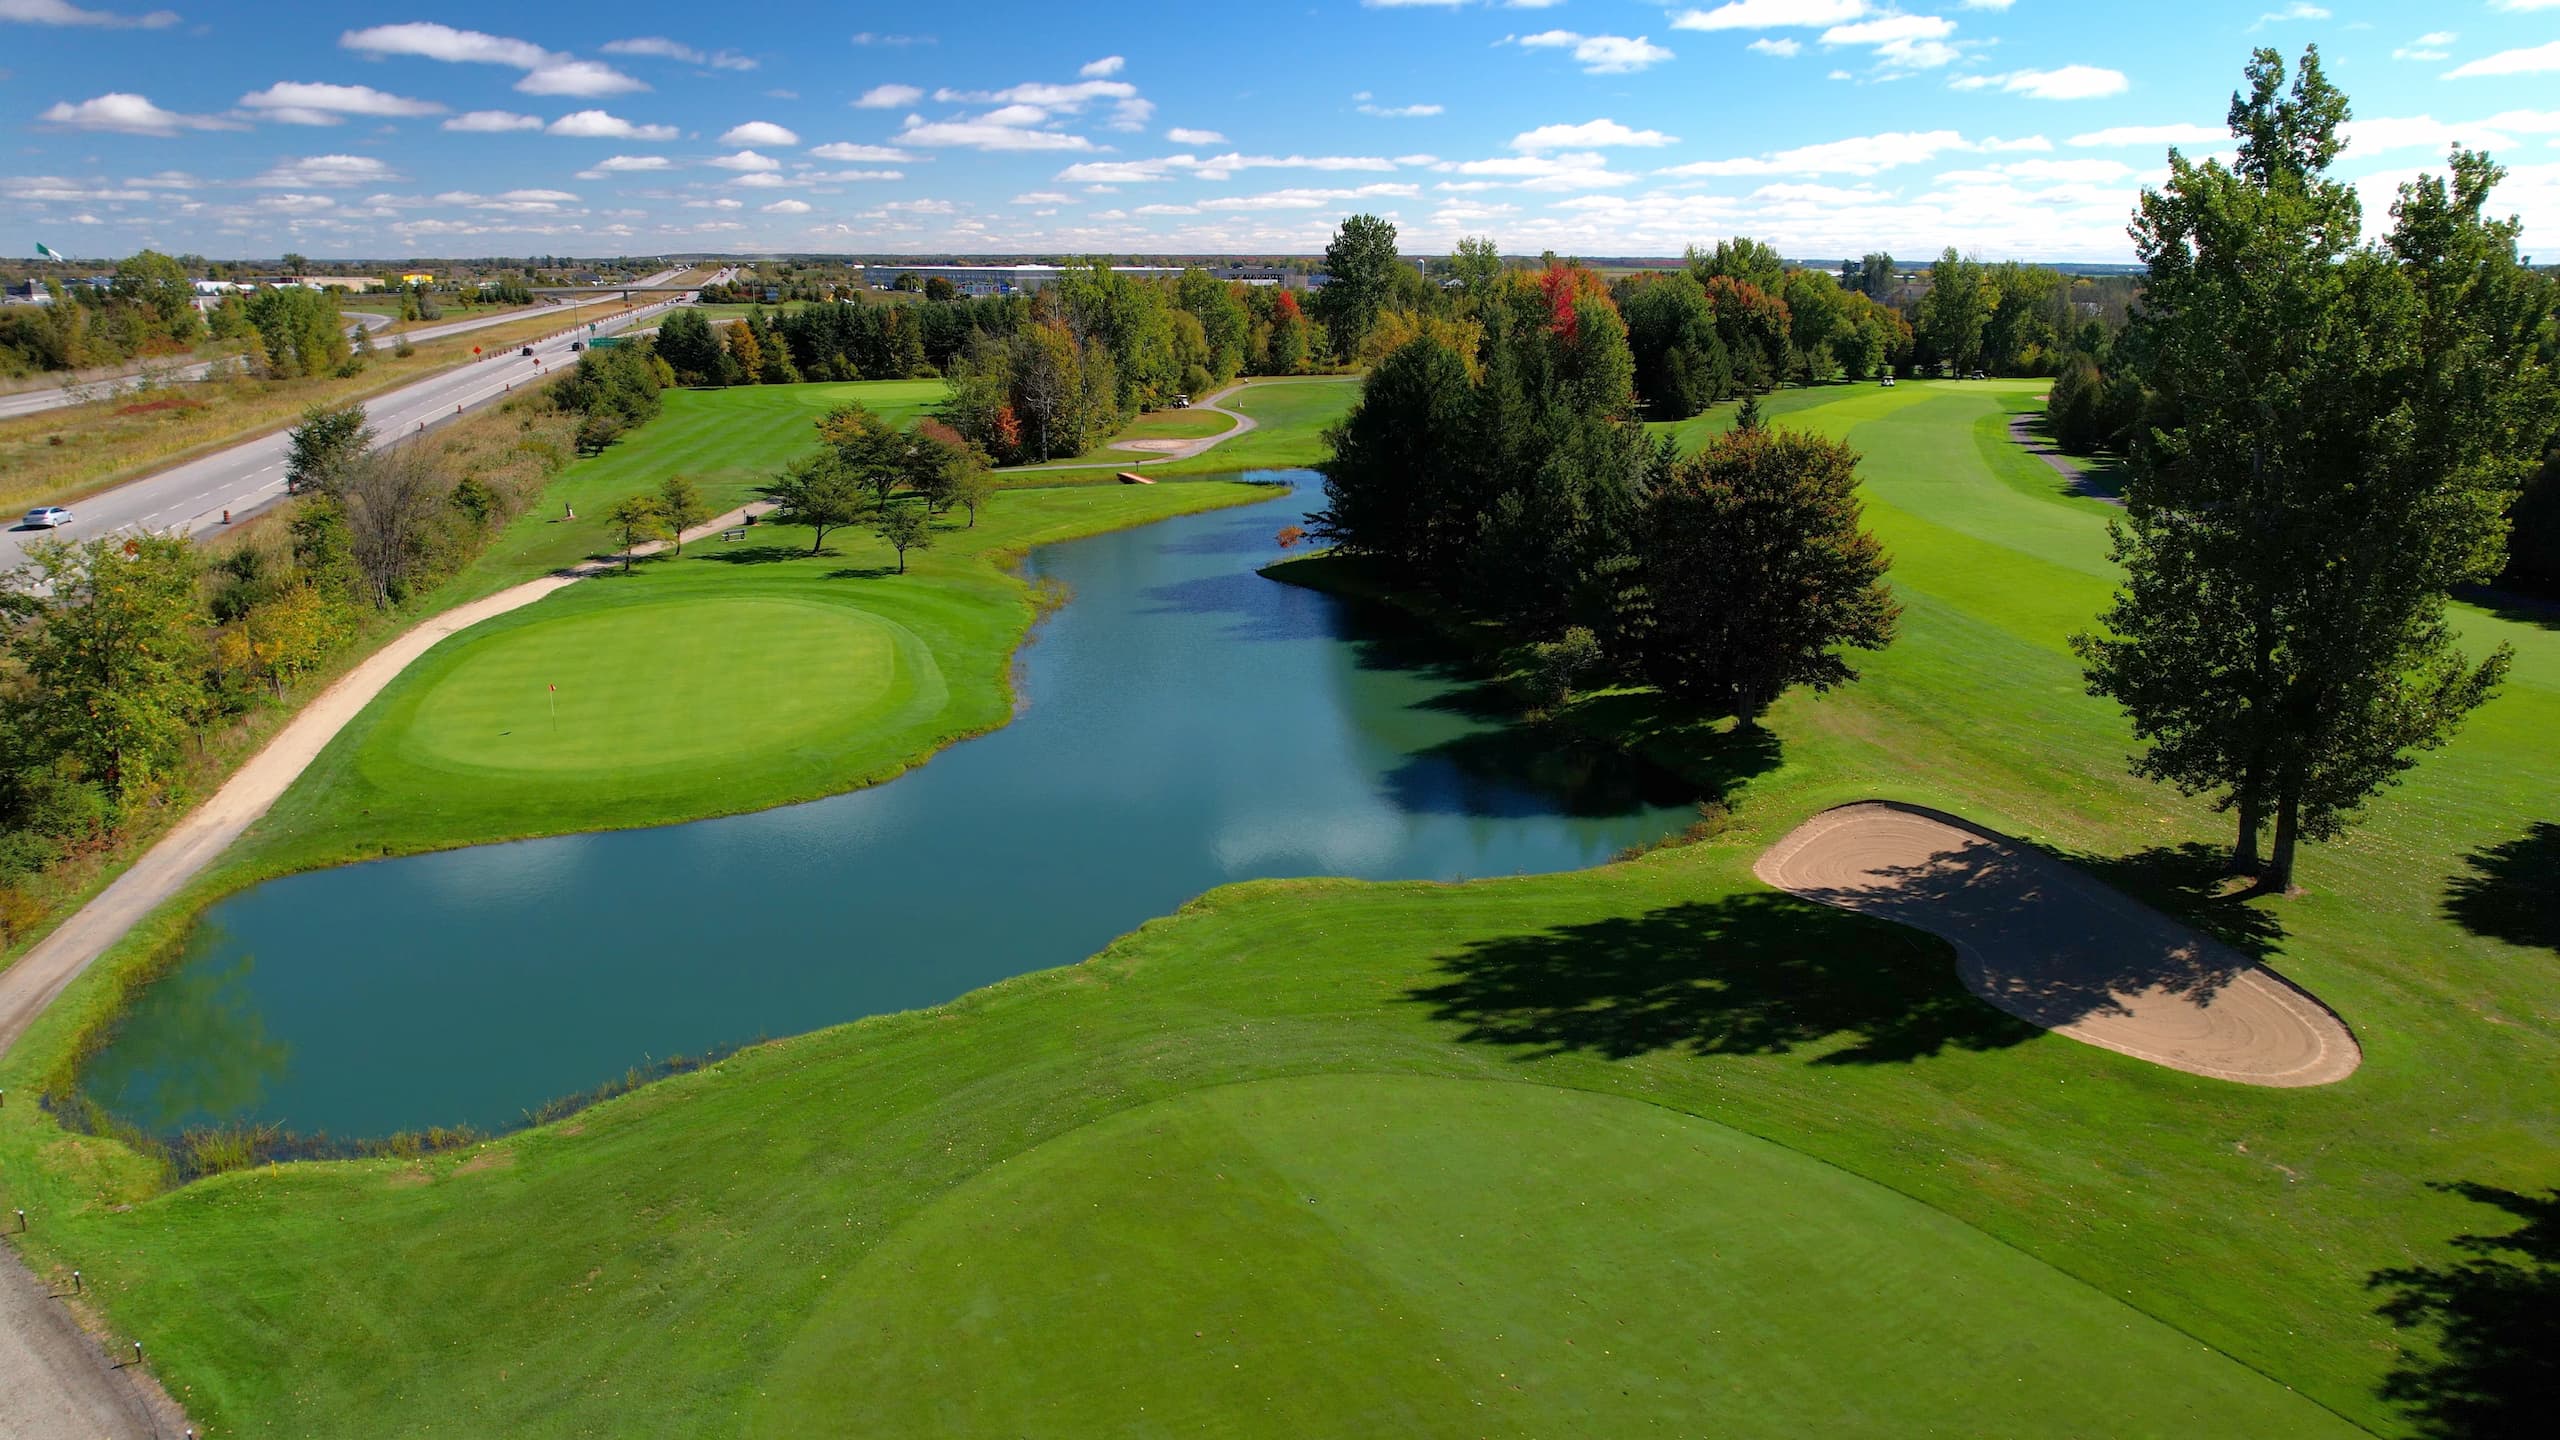
Our signature hole here at Casselview. A beautiful and challenging par 3 with water running along it, as well as a green that is significantly lower than the tees. The green has a sand trap to the right that should be avoided. It is also very undulated making it a challenge to putt.
Gold: 206
Blue: 183
White: 168
Green: 139
Red: 121
Hole 15
A tee shot to the right of this par 4 should be avoided as there is a sleep slope that could make for a difficult 2nd shot. There are two menacing bunkers protecting this small and elevated green.
Gold: 371
Blue: 371
White: 358
Green: 304
Red: 256
Hole 16
A narrow par 3 that is bordered by trees on both the left and right side. This two-tiered green is also backed by a sand trap. We recommend trying to reach the same platform where the flag is located.
Gold: 174
Blue: 168
White: 152
Green: 134
Red: 131
Hole 17
A dogleg right that will give you plenty of challenges with water in play off your tee shot, as well as trees on both sides. A second shot short of the flagstick is suggested, as this green slopes severely from the back to the front.
Gold: 417
Blue: 379
White: 356
Green: 255
Red: 248
Hole 18
We arrive at the final hole, which some would say is the toughest hole of the back nine. The 18th sees Butternut Creek run along it all the way to the green. A tee shot into the fairway is essential on your 2nd shot, as it’s difficult to get your feet level on this undulated fairway. Finally, we recommend avoiding the right on your approach shot.